PoweredUSB อธิบายชัด: สายเคเบิล POS 5V, 12V และ 24V หัวต่อ และวิธีเลือกให้ถูก
คู่มือการซื้อ PoweredUSB (Retail USB / USB PlusPower) สำหรับ POS — คืออะไร การเข้ารหัสแรงดันและสี 5V/12V/24V การล็อกหัว 1x8 เทียบ 2x4 วิธีจับคู่สายกับเครื่องพิมพ์หรืออุปกรณ์ต่อพ่วง และทำไมแรงดันจึงสำคัญ
สรุปใน 60 วินาที
PoweredUSB (also called Retail USB, USB PlusPower or USB +Power) is a USB connector that carries data and DC power in one cable, so a receipt printer or touchscreen can run without its own power brick. The only two things you must get right when buying one are the voltage and the connector shape — and the standard makes both easy to check:
| Voltage | Colour | Max power | Typical device | |
|---|---|---|---|---|
| 5 V | Grey | ~30 W | Low-power peripherals | — |
| 12 V | Teal / blue-green | ~72 W | Scanners, some printers | — |
| 24 V | Red | ~144 W | Receipt printers (Epson/IBM) | — |
| 19 V (variant) | Violet | — | Specific devices | — |
PoweredUSB คืออะไรและทำไม POS ถึงใช้
A standard USB port gives you data and a little 5 V power — fine for a mouse, not enough for a thermal receipt printer. PoweredUSB solves that by stacking a power connector onto a standard USB plug: the bottom half is ordinary USB (data), the top half delivers higher-current DC. One cable, both jobs, far less clutter behind the counter.
You’ll find PoweredUSB on receipt printers, touchscreens and scanners from the major POS brands. Because it removes a power supply per peripheral, it cuts both cable count and the number of mains outlets a lane needs.
แรงดัน รหัสสี และกำลังไฟ
The standard offers three main voltages plus a variant, each colour-coded so you can identify a cable or port instantly:
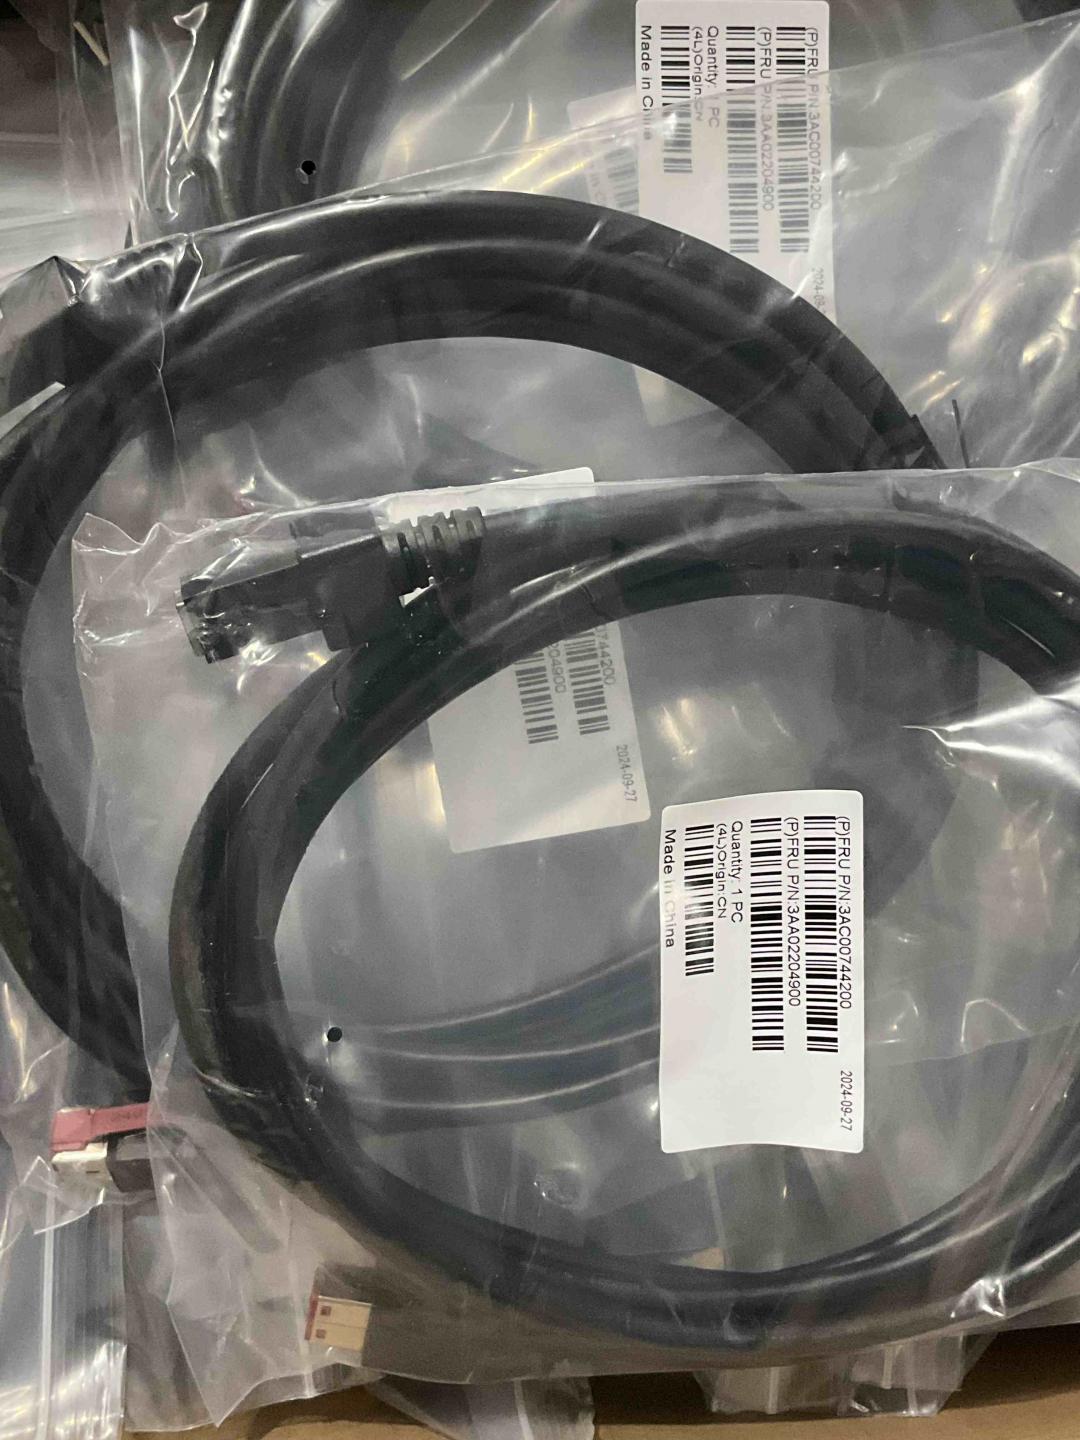
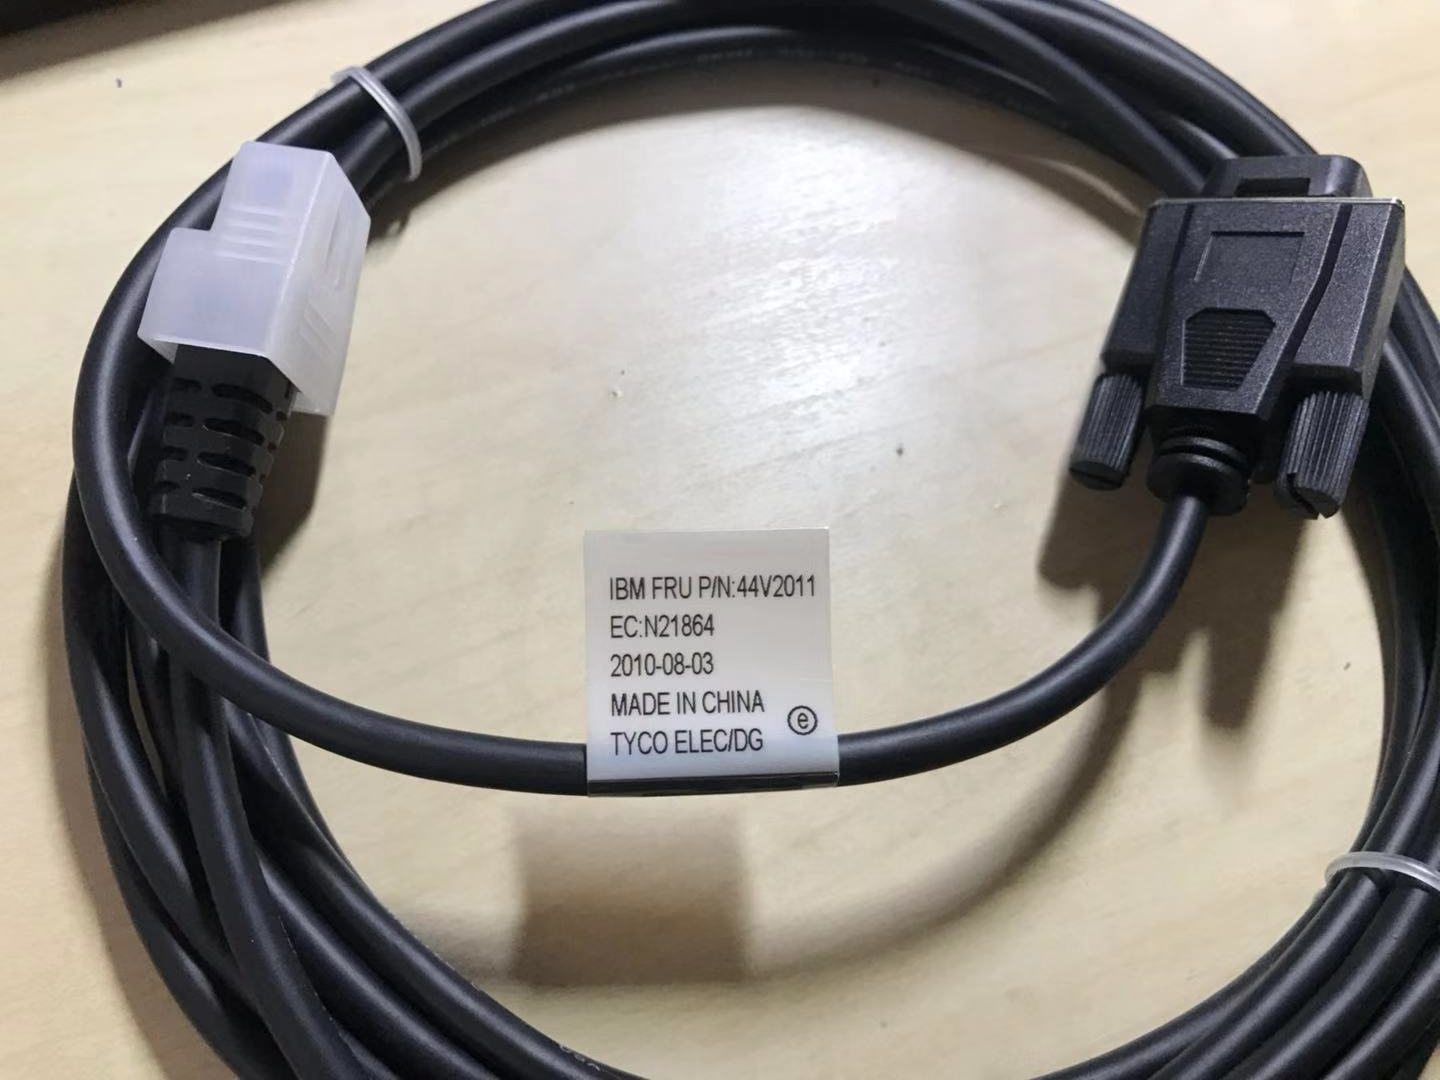
ชนิดหัวต่อและการล็อกหัว
Voltage isn’t the only variable — the physical pin arrangement at the device end differs too. The two you’ll meet most are described by their pin layout:
| Connector | Layout | Notes | |
|---|---|---|---|
| 1x8-pin | Eight contacts in one row | Common on many Epson / IBM printers | — |
| 2x4-pin | Two rows of four | Used by other printers/terminals | — |
| Keying by voltage | Plugs physically polarised | 12 V and 24 V won't interchange — by design | — |
Crucially, the different voltage versions are mechanically keyed so they can’t be mis-plugged — a 12 V plug won’t fully seat into a 24 V socket. That keying is a safety feature, not an obstacle: if a connector resists, you have the wrong cable, not a stubborn port.
จับคู่สายกับอุปกรณ์ของคุณ
Choosing the right PoweredUSB cable is a short, ordered checklist. Work it from the device outward:
- 1
Read the device's rated voltage
Check the printer or peripheral’s label or spec sheet for its input voltage (commonly 24 V for receipt printers, 12 V for many scanners). This decides the cable colour/version. - 2
Identify the connector layout
Note the device-end plug shape — 1x8-pin or 2x4-pin. The cable must match this exactly, so a 24 V printer may need, e.g., a “24 V 1x8-pin” cable. - 3
Confirm the host-end connector
Check what the terminal or PoweredUSB hub/expansion card provides at the other end, and pick a cable with the matching host plug. - 4
Check current and length
Make sure the cable is rated for the device’s current draw (contacts handle ~3 A) and choose a length that reaches without strain — use a PoweredUSB extension or hub if you need more reach.Caution: Never adapt across voltages to make a plug fit — match the device's rated voltage exactly.
เมื่ออุปกรณ์ต่อพ่วงไม่ติดไฟ
If a PoweredUSB peripheral won’t power up, run these checks before suspecting the device:
| Check | What to confirm | |
|---|---|---|
| Voltage match | Cable colour/version matches the device's rated input | — |
| Fully seated | Connector clicked home at both ends, correct keying | — |
| Cable/port current rating | Rated for the device's draw; not a thin data-only cable | — |
| Port supplies power | Some ports are data-only — confirm it's a powered port | — |
| Swap test | Known-good port + cable powers it = original cable/port faulty | — |
Browse PoweredUSB cables, extensions and adapters in our cables & connectors category, PoweredUSB hubs and expansion cards in interface cards, and replacement bricks in power supplies. If a printer on a PoweredUSB line is dead rather than miscabled, see our power supply failure diagnosis guide. Tell us your printer or peripheral model and we’ll match the exact voltage and connector before you order.
คำถามที่พบบ่อย
PoweredUSB คืออะไร?
PoweredUSB ให้แรงดันอะไรบ้าง?
สีของหัวต่อหมายถึงอะไร?
หัวต่อ PoweredUSB 1x8 กับ 2x4 ต่างกันอย่างไร?
ใช้สาย PoweredUSB 24V กับอุปกรณ์ 12V ได้ไหม?
อุปกรณ์ PoweredUSB ไม่ติดไฟ — ควรเช็กอะไร?
แหล่งข้อมูลและการอ่านเพิ่มเติม
- PoweredUSB — Wikipedia
- What Is PoweredUSB? 12V vs 24V Explained — PCM Cable
- PoweredUSB Specification (overview) — poweredusb.org
- Powered USB Equipment for POS (PlusPower) — Beagle Hardware
- PoweredUSB Cables for POS Equipment (5V/12V/24V) — Goochain
คู่มือที่เกี่ยวข้อง
เครื่อง POS ออลอินวัน vs โมดูลาร์: ควรซื้อแบบไหน (และแต่ละแบบกระทบการซ่อมอย่างไร)
ออลอินวันเรียบร้อยและติดตั้งเร็ว; โมดูลาร์ยืดหยุ่นและอัปเกรดและซ่อมถูกกว่า คำตอบที่ถูกขึ้นกับขนาด แผนการเติบโต — และคุณอยากจัดการความเสียอย่างไร
อ่านคู่มือ →คู่มือเลือกซื้อเครื่องสแกนบาร์โค้ด: เลเซอร์ 1D vs อิมเมเจอร์ 2D, มีสาย vs ไร้สาย, มือถือ vs แฮนด์ฟรี
สองคำถามตัดสินส่วนใหญ่: ต้องสแกนจอมือถือไหม (ถ้าใช่ ก็ 2D) และเคาน์เตอร์ยุ่งพอจะอยากได้แฮนด์ฟรีไหม นี่คือวิธีที่เทคโนโลยี รูปแบบ และการเชื่อมต่อจับคู่กับการใช้งานจริง
อ่านคู่มือ →ตัวตัดอัตโนมัติของเครื่องพิมพ์ใบเสร็จ: กิโยติน vs โรตารี, ตัดบางส่วน vs ตัดขาด, และอายุใบมีด
กิโยตินหรือโรตารี? ตัดบางส่วนหรือตัดขาด? ตัวตัดเป็นชิ้นส่วนเคลื่อนไหวที่ใช้บ่อยที่สุดในเครื่องพิมพ์ใบเสร็จ — ชนิดและโหมดที่ถูกทำให้เลนเร็วและใบเสร็จเรียบร้อย
อ่านคู่มือ →หมวดหมู่ที่เกี่ยวข้อง
อะไหล่แนะนำ
%20Sparta%20Riser%20Card/120c399634d85265f7a7595a979407ee_c48b4b186f0a2eea2b86d0d5a86c219e_s-l1600.jpg)

ต้องการอะไหล่ที่กล่าวถึงในคู่มือนี้หรือไม่?
อะไหล่ OEM ของแท้และอะไหล่ทดแทนคุณภาพระดับโรงงานสำหรับระบบ IBM, Toshiba, NCR, Diebold, Wincor และ Hyosung — จัดส่งทั่วโลก