POS-Kassenladen-Kaufratgeber: druckergesteuert vs USB vs manuell, RJ11/RJ12-Kabel und Größe
Wie Sie eine POS-Kassenlade wählen — druckergesteuert (RJ11/RJ12-Kick) vs USB-Direktanschluss vs manuell, warum POS-Kabel zählen, Schein- und Münzlayout dimensionieren, Bauqualität und Abstimmung auf Ihren Bondrucker.
Die schnelle Auswahl
A cash drawer is the simplest part of a POS lane — and the one people most often buy wrong. Get three things right and it just works: the connection type, the cable, and the size. Quick orientation:
| If your setup is… | Choose | Why | |
|---|---|---|---|
| A fixed till with a receipt printer | Printer-driven (RJ11/RJ12) | Opens on the printer's 24V kick — simplest, most common | — |
| Tablet POS / no kick-capable printer | USB direct-connect | Opens via driver/POS software | — |
| Back-up / low-tech counter | Manual push-open | No electronics; open by key or button | — |
Anschlusstypen im Vergleich
The three ways a drawer connects, side by side:
| Printer-driven | USB direct | Manual | |
|---|---|---|---|
| Connects to | Receipt printer's kick port | POS PC / tablet host | Nothing (standalone) |
| Opens via | 24V kick when receipt prints | Driver / POS software | Key or push-button |
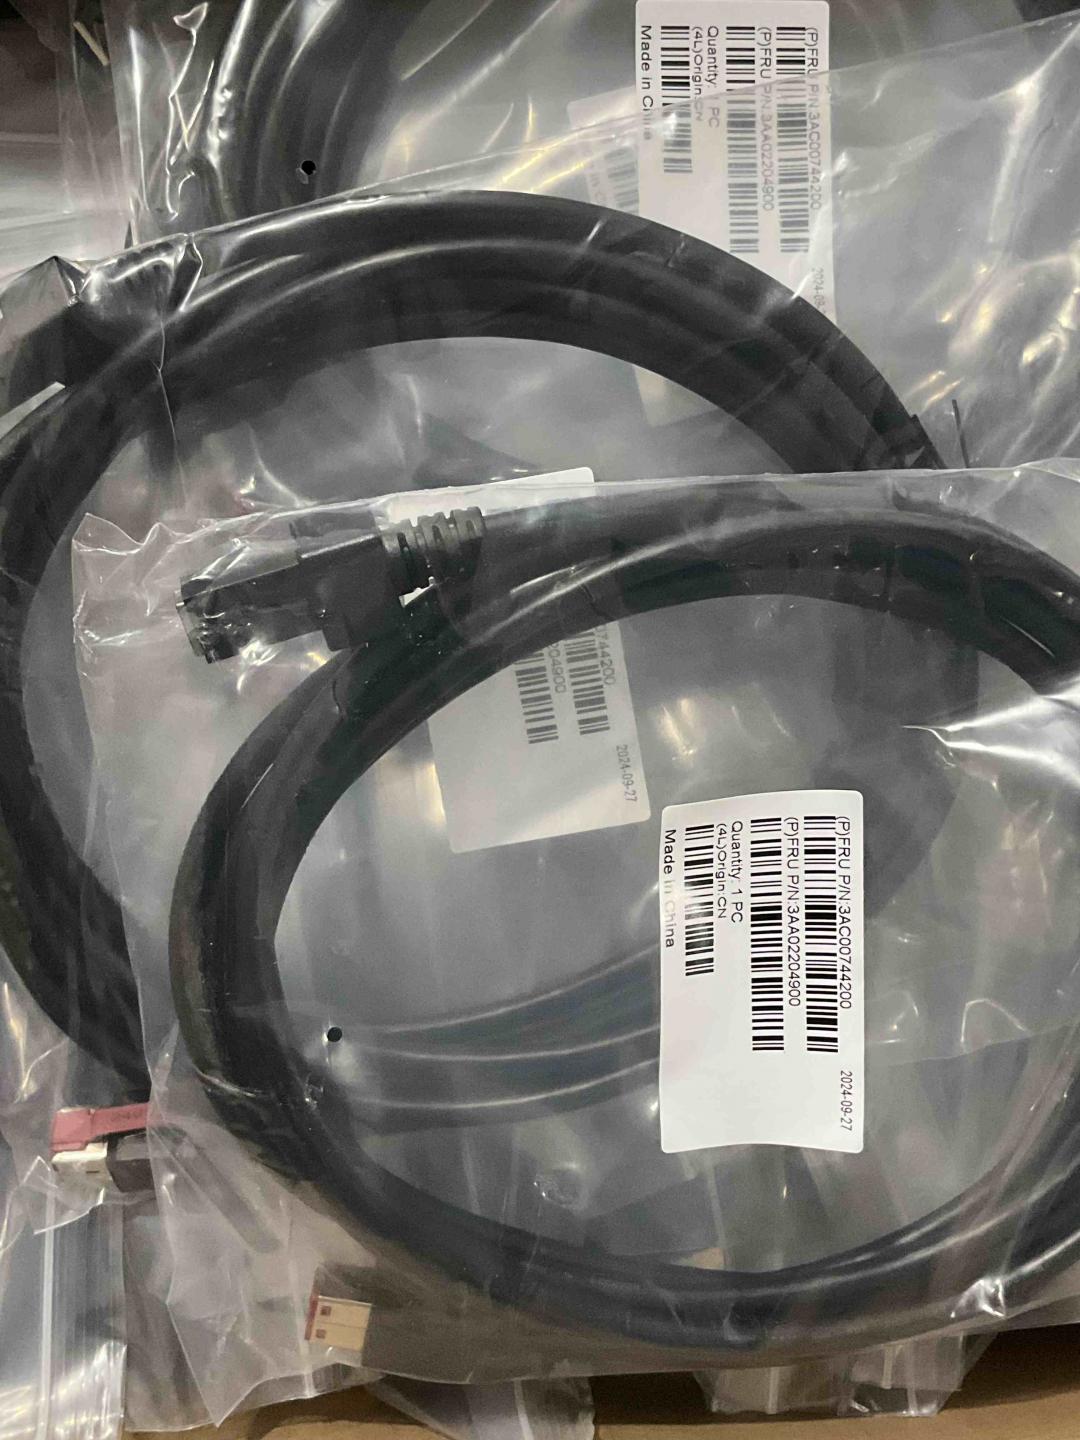
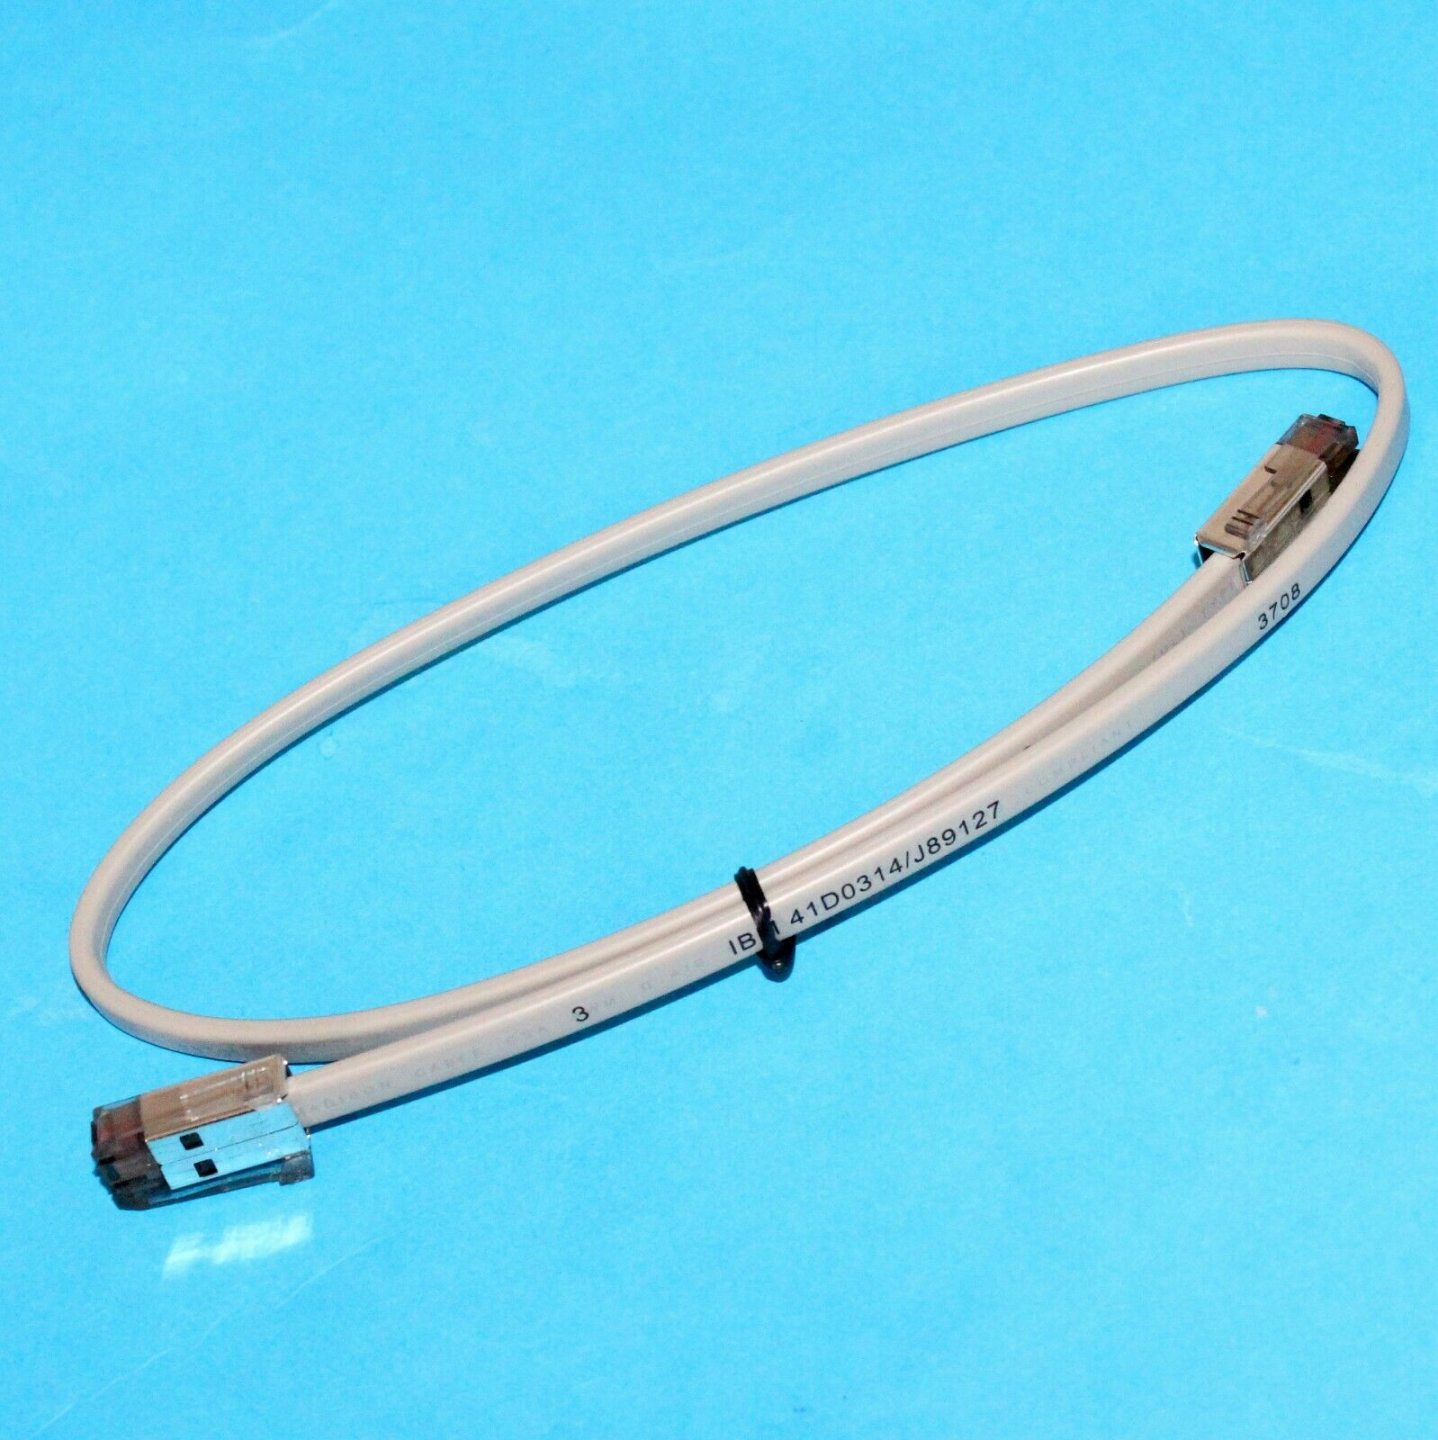
| Cable | RJ11 (6P4C) / RJ12 (6P6C) | USB | — |
| Best for | Fixed tills with a printer | Tablet/cloud POS | Backup or manual lanes |
| Watch out for | Cable pinout & 12V vs 24V | Driver/utility setup | No transaction-linked open |
Wie der druckergesteuerte 'Kick' funktioniert
The printer-driven setup is worth understanding because it’s the one most tills use and the one most setup errors come from. The receipt printer has a drawer-kickport; at the end of a sale it fires a ~24VDC pulse down the RJ11/RJ12 cable, energising the drawer’s solenoid, which releases the latch and a spring pops the drawer open.
Two things must agree for this to work: the cable’s pinout (POS-grade, not a phone cable) and the drawer’s voltage (most are 24V, some 12V) versus what the printer kicks. Get either wrong and the drawer either won’t open or opens unreliably.
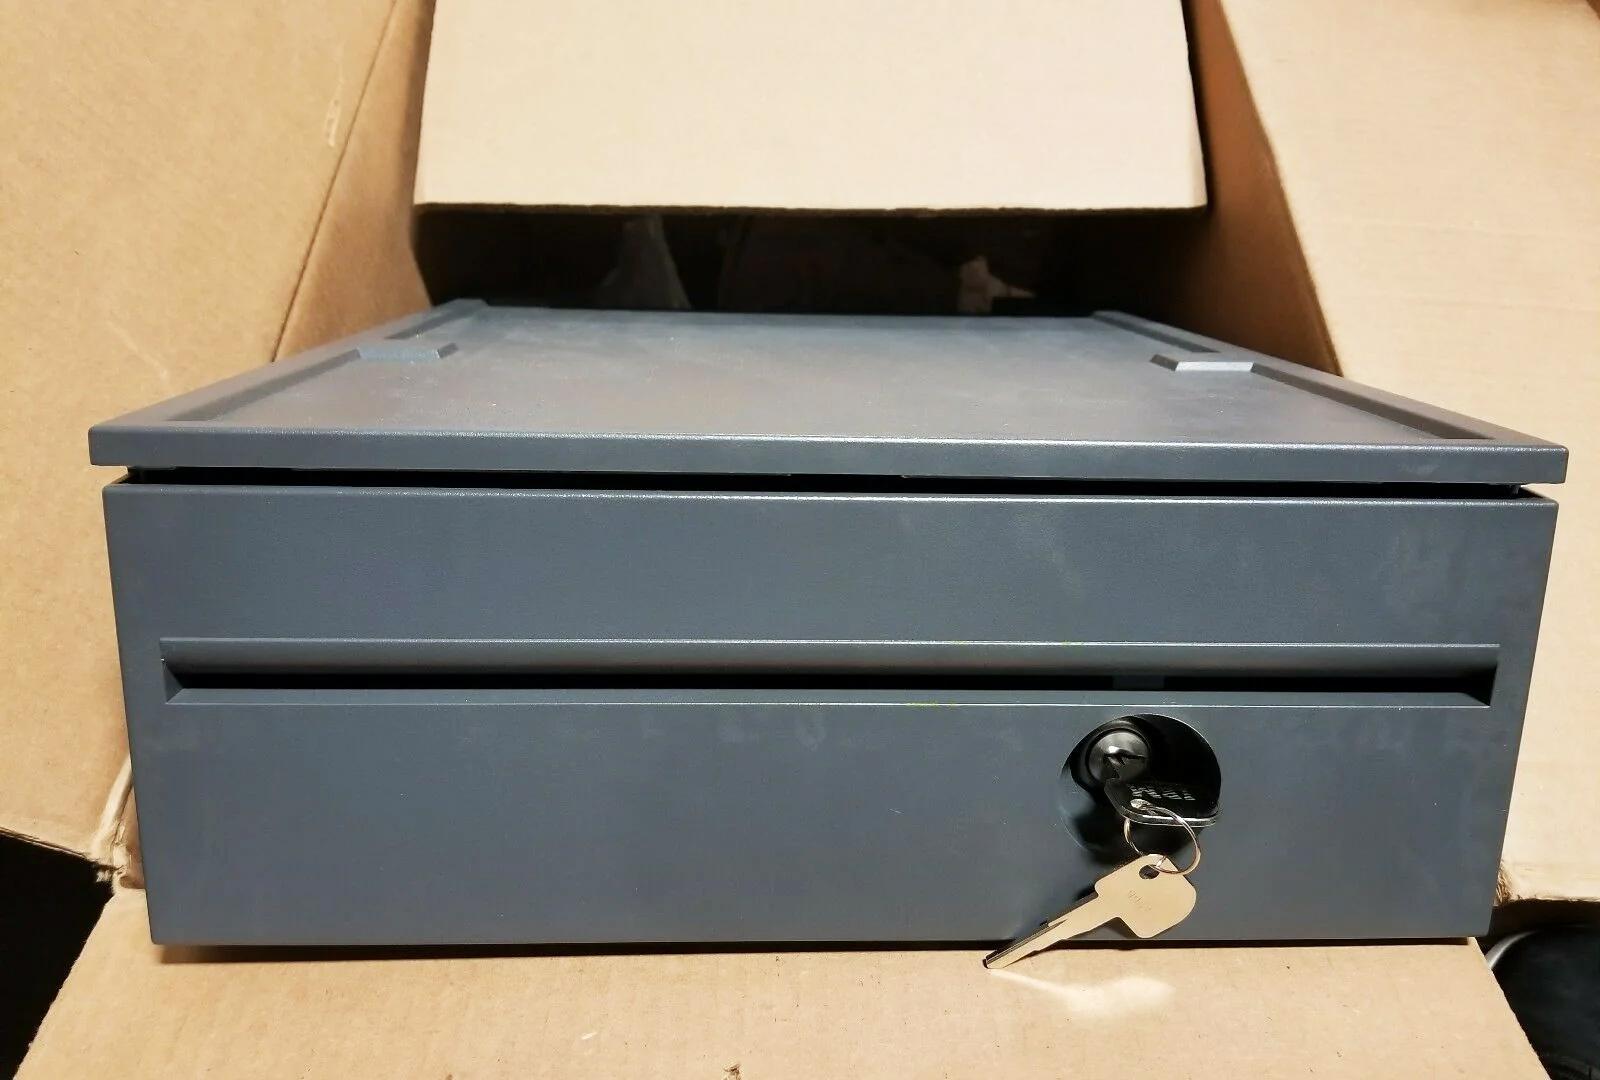
Größe und Bauqualität
Once the connection is settled, size and build decide whether the drawer survives daily abuse and fits your counter:
| Factor | What to choose | |
|---|---|---|
| Footprint | Compact ~13 in for tight/tablet counters; ~16 in standard for most retail | — |
| Bill compartments | 4–5 for most currencies; more for multi-denomination/currency | — |
| Coin cups | 5–8 removable cups; match your coin set | — |
| Construction | Steel front & frame; roller-bearing slide for smooth, durable opening | — |
| Lock | Multi-position (open / online / locked) for cash control | — |
| Media slot | Add one if you accept cheques or large notes under the till | — |
Auswahl nach Setup
A short path from your setup to the right drawer:
- 1
Do you have a kick-capable receipt printer?
Most do — a drawer-kick (RJ11/RJ12) port. If yes, choose a printer-driven drawer. If your POS is tablet-based with no kick port, choose USB. - 2
Match the voltage
Confirm the printer kicks 24V (most common) or 12V, and pick a drawer rated for the same. Mismatched voltage opens unreliably or not at all. - 3
Size it
Pick the footprint that fits your counter and the bill/coin layout that matches your cash volume and currency. - 4
Pick the build and lock
Steel front, roller-bearing slide, and a multi-position lock for a busy till. Add a media slot if you take cheques or large notes.
Kabel, Einrichtung und was zu beschaffen ist
To get it running and keep it running, order and check these:
| Item | Note | |
|---|---|---|
| Drawer-kick cable | POS-grade RJ11/RJ12 wired for your printer + drawer (not a phone cable) | — |
| Correct printer port | Plug into the drawer-kick port, not a phone/network jack | — |
| POS kick setting | Enable the drawer-kick in the printer/POS config; test with a no-sale open | — |
| Spare lock & keys | Keep spares; locks and keys are common loss items | — |
| Spare coin tray | Removable trays wear and crack — easy to replace | — |
Browse cash drawers and spares in our cash drawer & parts category, and drawer-kick cables in cables & connectors. If a correctly-bought drawer won’t open, our cash-drawer troubleshooting guide walks the full diagnosis, and the printer interface guide covers the printer side. Tell us your printer model and we’ll match a compatible drawer and cable before you order.
Häufig gestellte Fragen
Was ist der Unterschied zwischen einer druckergesteuerten und einer USB-Kassenlade?
Kann ich ein normales Telefon-/Ethernet-Kabel für die Kassenlade nutzen?
Funktioniert jede Kassenlade mit meinem Bondrucker?
Welche Kassenladengröße brauche ich?
Worauf sollte ich bei der Bauqualität achten?
Meine Kassenlade öffnet nicht — liegt's an der Lade oder am Setup?
Quellen & weiterführende Literatur
Verwandte Anleitungen
All-in-One vs modulare POS-Terminals: Was kaufen (und wie jedes Reparaturen beeinflusst)
All-in-One ist aufgeräumt und schnell einsatzbereit; modular ist flexibel und günstiger aufzurüsten und zu reparieren. Die richtige Antwort hängt von Größe, Wachstumsplänen — und wie Sie Ausfälle handhaben wollen.
Anleitung lesen →Barcode-Scanner-Kaufratgeber: 1D-Laser vs 2D-Imager, kabelgebunden vs kabellos, handgeführt vs freihändig
Zwei Fragen entscheiden das meiste: Müssen Sie Handy-Displays scannen (dann 2D), und ist Ihre Kasse voll genug für freihändig? So passen Scannertechnik, Bauform und Anschluss zur realen Nutzung.
Anleitung lesen →Beleg-Auto-Cutter: Guillotine vs Rotation, Teilschnitt vs Vollschnitt, und Klingen-Lebensdauer
Guillotine oder Rotation? Teil- oder Vollschnitt? Der Cutter ist das meistgenutzte bewegliche Teil im Belegdrucker — der richtige Typ und Schnittmodus hält die Kasse schnell und die Belege ordentlich.
Anleitung lesen →Verwandte Kategorien
Empfohlene Ersatzteile
Benötigen Sie die in dieser Anleitung erwähnten Teile?
Originale OEM- und werksgeprüfte Aftermarket-Teile für IBM, Toshiba, NCR, Diebold, Wincor und Hyosung Systeme — mit weltweitem Versand.