
Kassenschublade öffnet nicht? Der komplette Leitfaden zu Fehlersuche, Verkabelung und Spannung (RJ11/RJ12)
Warum eine POS-Kassenschublade nicht aufspringt — vom Drucker im Papierende-Fehler bis zum Solenoid mit falscher Spannung. Mit RJ11/RJ12-DK-Port-Pinbelegung, 12V vs. 24V, Solenoid-Test per Multimeter, manueller Entriegelung und Schubladenauswahl.
Die 60-Sekunden-Erstdiagnose
A cash drawer that won’t pop feels like a hardware failure, but it almost never is. In the field, the overwhelming majority of dead-drawer calls trace back to three things: the receipt printer is in an error state (usually out of paper), the RJ11/RJ12 cable has worked loose, or someone connected a drawer whose voltage doesn’t match the printer’s port. Run this quick triage before opening anything:
| Check | What you're confirming | |
|---|---|---|
| 1. Is the printer printing? | A printer out of paper or in error won't send the kick pulse | — |
| 2. Reseat the RJ cable both ends | A half-seated DK cable is the #1 intermittent cause | — |
| 3. Voltage match (12V vs 24V) | Wrong voltage = drawer won't fire, or solenoid slowly cooks | — |
| 4. Software sends the kick? | Driver/POS must issue the drawer-kick command on the right event | — |
| 5. Mechanical jam or lock | Coins under the till, or the key-lock is simply turned off | — |
Wie eine Kassenschublade tatsächlich öffnet
Understanding the open cycle tells you exactly where to look. There are two ways a drawer is wired, and they fail differently:
- Printer-driven (the common setup). The drawer plugs into the receipt printer’s DK (drawer-kick) port with an RJ11/RJ12 cable. When the POS tells the printer to open the drawer, the printer sends a short voltage pulse down the cable that energises the drawer’s solenoid. The solenoid throws a latch, and a spring shoots the till open.
- Directly connected. Some drawers connect to the POS via USB or serial instead of through the printer. Here the kick command goes straight from the computer, so a printer error won’t affect the drawer — but a driver problem will.
RJ11/RJ12-DK-Port-Pinbelegung und 12V vs. 24V
POS cash drawers use a 6-pin RJ12 (6P6C) connector — it looks like a fat telephone plug — into the printer’s DK port. The widely used Epson-standard pinout is below. Knowing it lets you confirm a cable with a multimeter and understand why one printer can drive two drawers.
| Function | Notes | |
|---|---|---|
| Pin 1 | Frame ground | — |
| Pin 2 | Drawer-kick drive signal 1 (drawer #1) | — |
| Pin 3 | Drawer open/closed sensor | — |
| Pin 4 | Drive voltage (+24V or +12V) | — |
| Pin 5 | Drawer-kick drive signal 2 (drawer #2) | — |
| Pin 6 | Signal ground | — |
A few drawers use a 4-pin RJ11 or a vendor-specific pinout (notably some Star and APG variants). If a known-good Epson-pinout cable doesn’t fire the drawer, suspect a pinout mismatch before condemning the solenoid — the wrong cable is far cheaper to fix than the wrong diagnosis.
Schritt-für-Schritt-Diagnose
Work top to bottom. Each step rules out a whole class of cause, so you isolate the fault without guesswork or wasted parts.
- 1
Confirm the printer is healthy
Reload paper, clear any error light, and print a test receipt. A printer that can’t print won’t kick the drawer. This alone resolves a large share of calls. - 2
Reseat the RJ cable at both ends
Unplug and firmly re-click the cable at the printer’s DK port and at the drawer. Listen for the click. A cable yanked taut every time the drawer opens works loose over time — secure a slack loop under the counter.Caution: Plug into the printer's DK port — not a LAN or phone port. They look similar and an RJ12 fits an RJ45 socket loosely. - 3
Fire a no-sale / test kick
Trigger a no-sale or the printer’s self-test drawer kick. If it opens, the hardware is fine and the fault is in how your POS software issues the kick command — move to step 4. If nothing happens, continue to step 5. - 4
Check the software/driver mapping
Confirm the POS or printer driver is set to send the drawer-kick command (the ESC/POSESC ppulse) on cash payment or no-sale, and to the correct drawer pin (pin 2 vs pin 5 for dual drawers). - 5
Test the solenoid with a multimeter
Unplug the drawer and measure resistance across the solenoid coil. A healthy coil reads a low non-zero value (a few to a few tens of ohms). 0 Ω means shorted; OL / infinite means open — both mean replace the solenoid. - 6
Rule out a mechanical jam
If the solenoid is good, open the till with the key and check for coins, notes or debris fouling the rails or latch. Clean it out, confirm the key-lock is in the operating position, and test again.
Mechanische Blockaden, Schlösser und manuelle Entriegelung
Not every stuck drawer is electrical. When the kick fires but the till doesn’t slide — or you just need it open now — work the mechanical side:
| Symptom | Cause & fix | |
|---|---|---|
| Solenoid clicks, till doesn't move | Jam or weak spring — clear debris under the till; replace spring if slack | — |
| Drawer won't open by key either | Coins jammed in the rail or a bent slide — open carefully, clean, realign | — |
| Opens but won't latch shut | Worn latch or catch — replace the latch assembly | — |
| No response at all, key works | Electrical fault upstream — return to the diagnosis steps | — |
| Locked and no key | Use the underside manual-release lever/slot; order a replacement lock + keys | — |
Auswahl von kompatibler Schublade, Kabel und Solenoid
When you do need a replacement drawer, cable, lock or solenoid, three specs decide compatibility. Get these right and the new part is a plug-and-play swap:
| Spec | How to choose | |
|---|---|---|
| Interface | Printer-driven (RJ11/RJ12) for most setups; USB/serial if connecting direct to the POS | — |
| Solenoid voltage | Match the printer DK port — 24V for most Epson/Star, 12V for some older systems | — |
| Cable pinout | Epson-standard 6P6C suits most; confirm Star/APG variants separately | — |
| Footprint & media slots | Bill/coin tray layout and till width to fit your counter and currency | — |
| Lock & keys | Keyed-alike across lanes if staff share keys; order spare keys upfront | — |
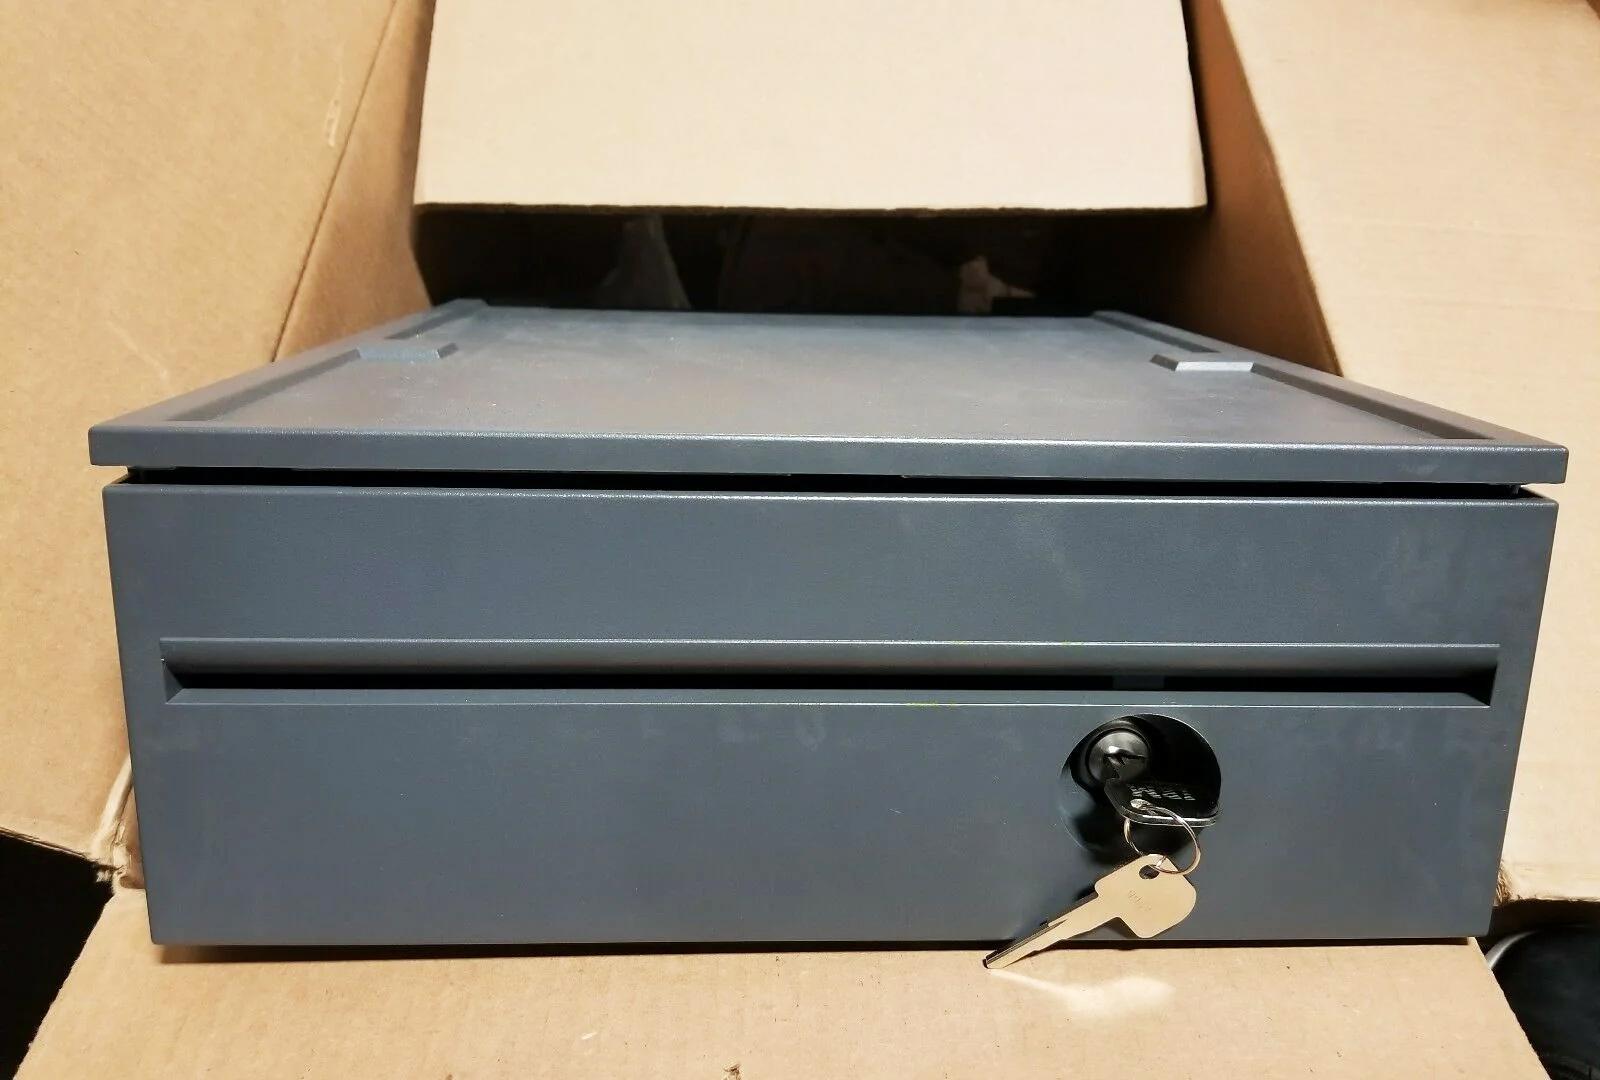
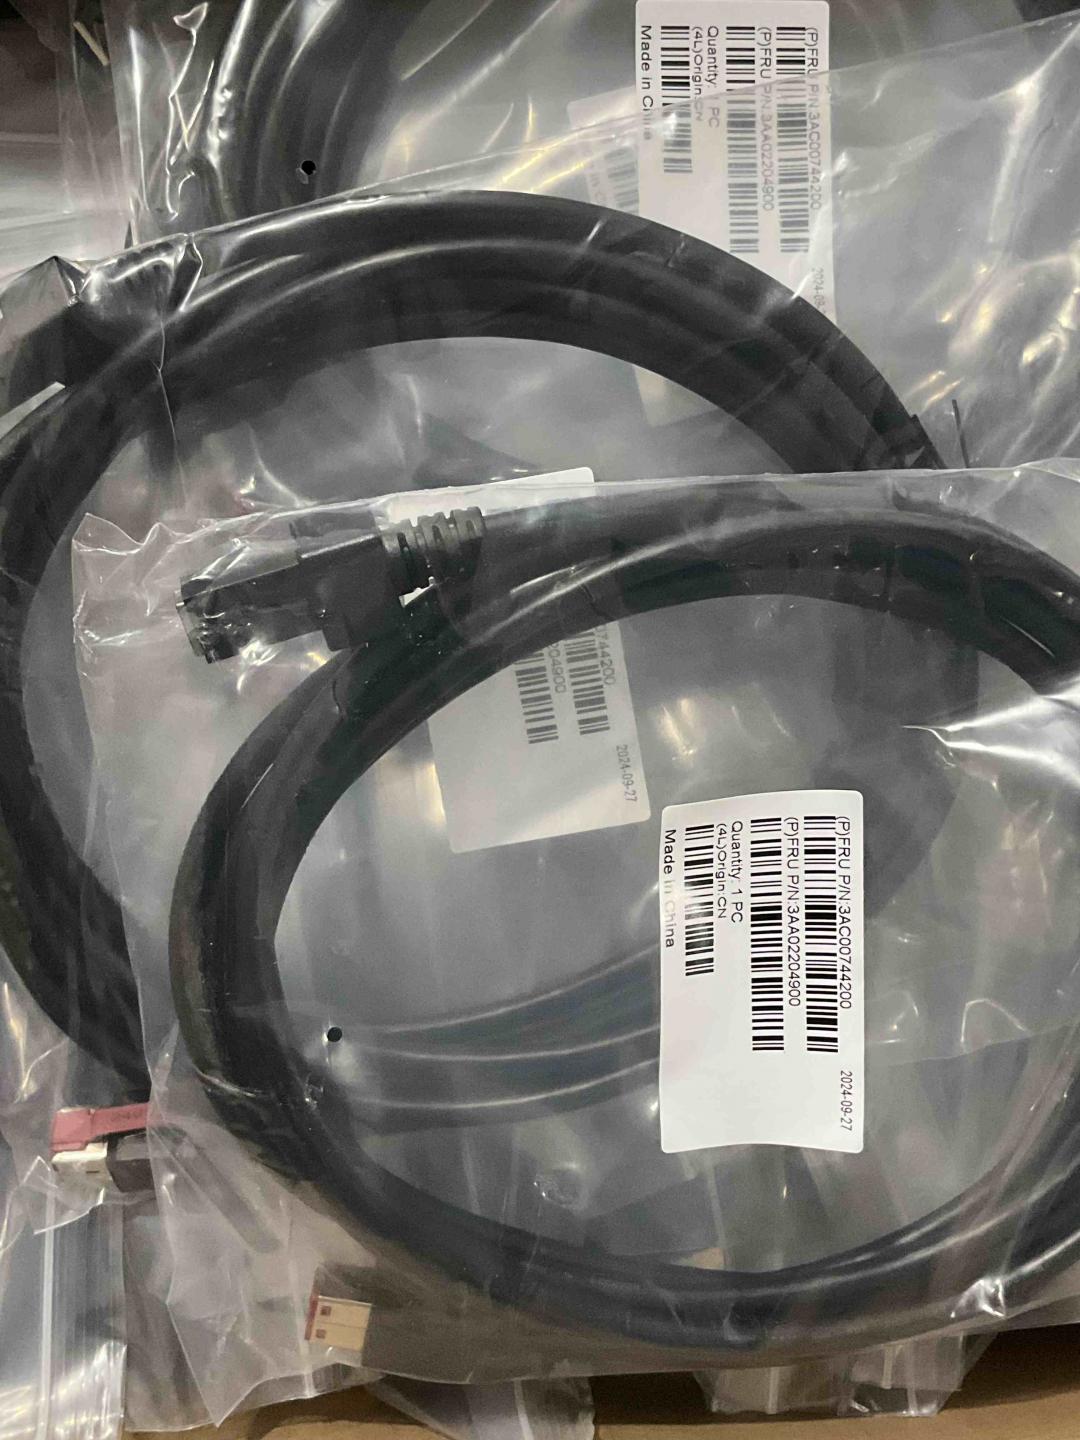
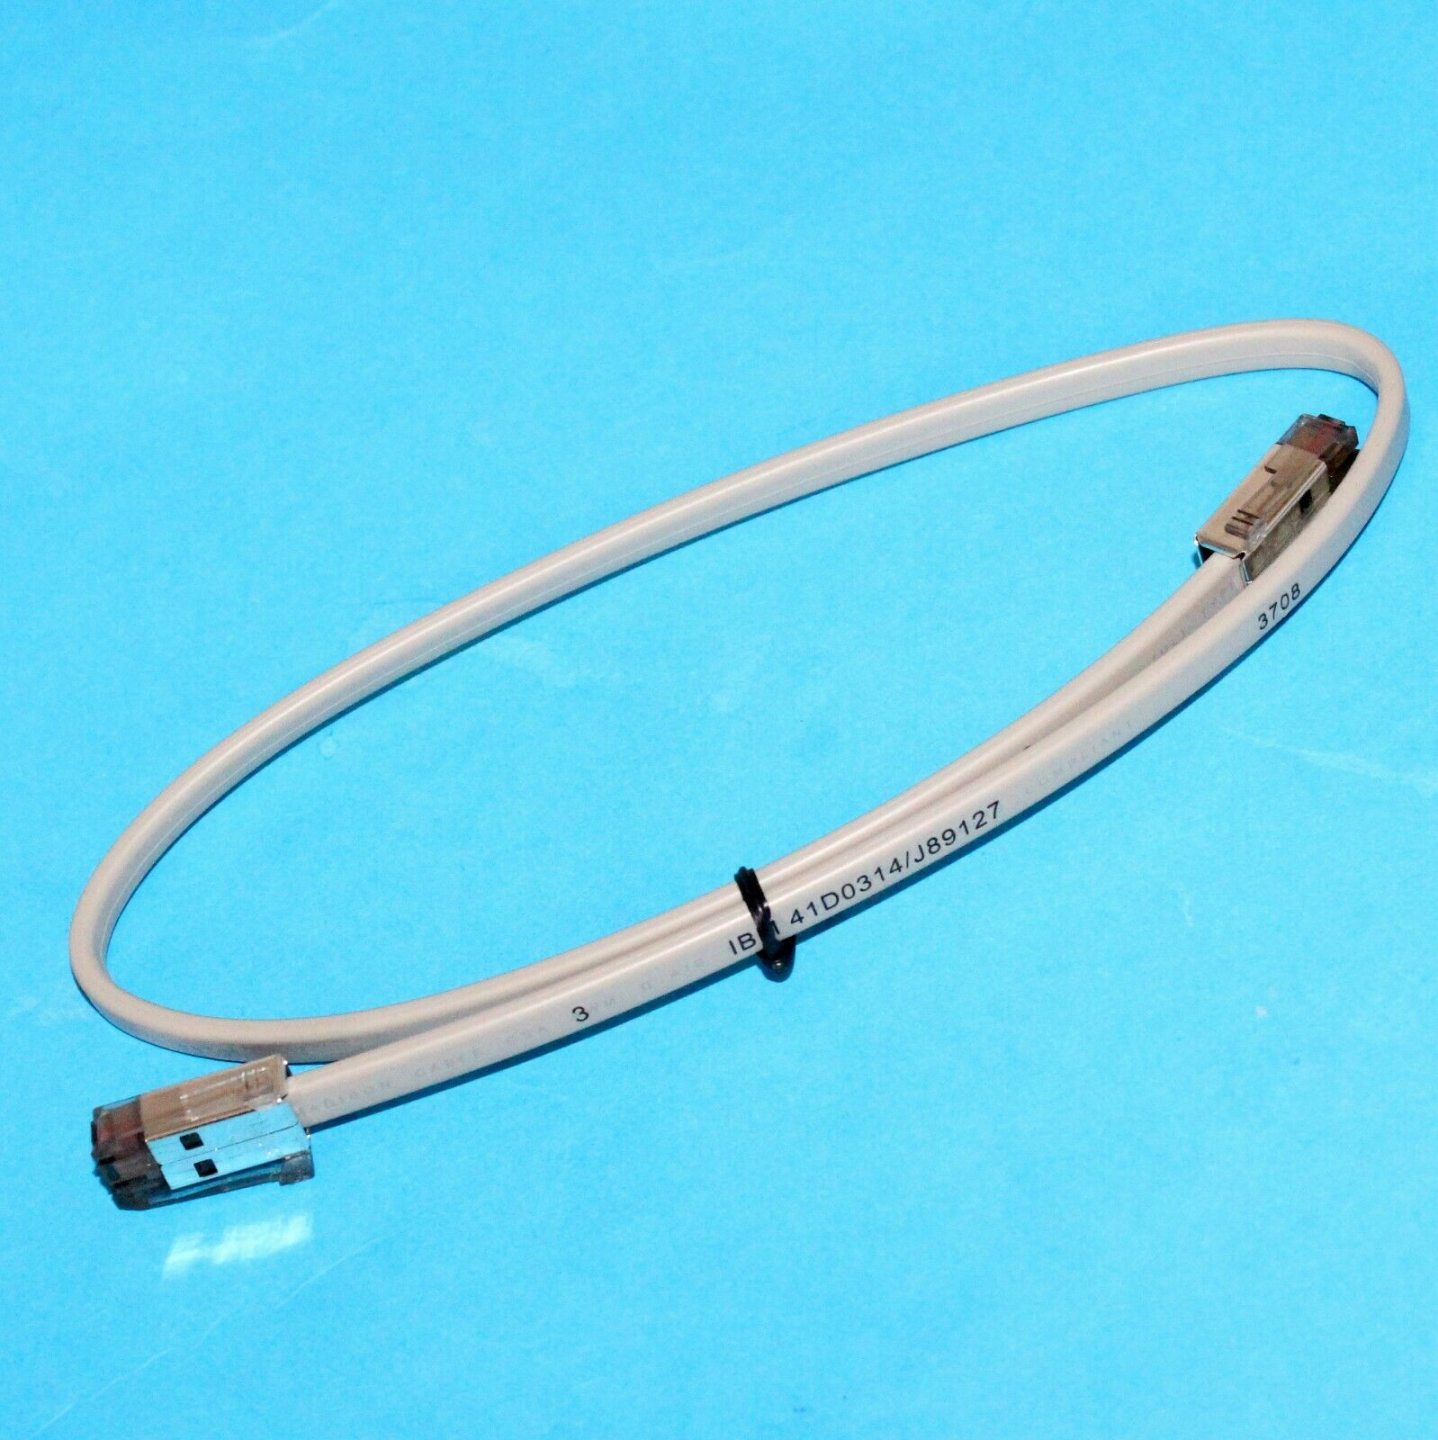
Browse compatible drawers, solenoids, locks and springs in our cash drawer & parts category, and matching DK cables in cables & connectors. If the root cause turns out to be the printer’s DK port rather than the drawer, our receipt printer troubleshooting guide covers diagnosing the printer side. Send us your printer and drawer model numbers and we’ll confirm the right cable and voltage before you buy.
Häufig gestellte Fragen
Meine Kassenschublade öffnet nicht mehr, obwohl sich nichts geändert hat — wo fange ich an?
Spielt es eine Rolle, ob meine Kassenschublade 12V oder 24V hat?
Wie ist die Pinbelegung des RJ11/RJ12-Schubladenkabels?
Wie teste ich, ob das Solenoid durchgebrannt ist?
Die Schublade öffnet vom POS, aber nicht wie erwartet — kann Software die Ursache sein?
Meine Schublade öffnet elektrisch nicht — wie bekomme ich sie jetzt auf?
Quellen & weiterführende Literatur
- Cash Drawer Won't Open? Top POS Problems & Fixes — TCANG
- Cash Drawer Cannot Open Automatically — Causes and Fixes — Sunany
- Cash Drawer Setup and Guidance (RJ-cable and voltage notes) — Acode
- Cash Drawer Troubleshooting (physical & internal) — Toast
- TM-T88VI User's Manual (drawer-kick / DK connector specification) — Epson
Verwandte Anleitungen
Kassenschublade verkabeln & anschließen: RJ11/RJ12 Drawer-Kick, druckergesteuert vs USB, und der 12–24V-Impuls
Eine POS-Kassenschublade steckt nicht in der Kasse — sie wird von einem 12–24V-Impuls des Belegdruckers über ein RJ11/RJ12-Kabel aufgestoßen. Schnittstelle, Pins und Spannung richtig, dann funktioniert es.
Anleitung lesen →Lauter oder ausfallender POS-Lüfter? Lager diagnostizieren, reinigen und einen Ersatz treffen
Ein schleifender oder pfeifender POS-Lüfter ist meist Staub oder ein verschlissenes Lager — ignoriert führt es zu Überhitzung und Abschaltungen. So finden Sie den lauten Lüfter, entscheiden reinigen-oder-tauschen und treffen den richtigen.
Anleitung lesen →Beleg druckt blass, dunkel, unvollständig oder streifig? Thermo-Druckqualität beheben (Beginnen Sie mit dem Selbsttest)
Blasse, streifige oder einseitige Belege gehen fast immer auf einen schmutzigen Kopf, falsches Papier oder eine Dichteeinstellung zurück — nicht auf einen toten Drucker. Ein Selbsttest-Druck zeigt, ob die Lösung Software oder Hardware ist.
Anleitung lesen →Verwandte Kategorien
Empfohlene Ersatzteile
Benötigen Sie die in dieser Anleitung erwähnten Teile?
Originale OEM- und werksgeprüfte Aftermarket-Teile für IBM, Toshiba, NCR, Diebold, Wincor und Hyosung Systeme — mit weltweitem Versand.