POS Receipt Printer Auto-Cutter Jams: How to Clear, Reset and Replace the Cutter (Epson, Star, Bixolon)
A field-tested guide to clearing auto-cutter jams on thermal receipt printers — power-cycle recovery, manual blade return, sensor cleaning, root-cause checklist and when to replace the cutter unit instead of the printer.
The 2-minute fix
When the cutter stops, the lane stops. The good news: the large majority of “cutter not cutting” calls aren’t a broken cutter at all — they’re a blade that stalled mid-stroke and lost its home position. A power-cycle and, if needed, a manual blade return clears most of them in well under two minutes. Work through this sequence in order before you reach for a replacement part:
| Do this | Why it works | |
|---|---|---|
| 1. Power-cycle the printer | Triggers the auto-recovery routine that re-homes the blade (clears most jams) | — |
| 2. Return the blade manually | Open the cutter cover, turn the knob to retract the movable blade to home | — |
| 3. Remove jammed paper gently | Only after the blade is home — never yank paper through an engaged blade | — |
| 4. Clean the sensor & blade track | Dust on the home-position sensor mimics a jam even when the blade is fine | — |
| 5. Replace the cutter unit | Only if the blade won't re-home or the cut is nicked/partial after cleaning | — |
How an auto-cutter works (and why it jams)
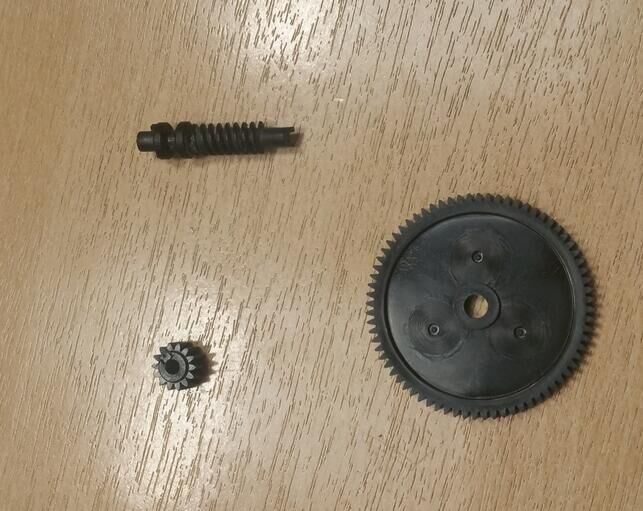
Almost every POS receipt printer uses a guillotine cutter: a motor-driven movable blade slides across a fixed blade to shear the paper, exactly like scissors. The motor turns a worm gear that drives the blade out and back in a single stroke, and an optical or mechanical sensor confirms the blade has returned to its home position before the next receipt prints.
A jam is almost always a break in that cycle. The blade can’t complete its stroke (paper dust binding the track, a foreign object, heavy paper), or it completes but the sensor can’t confirm home (dust on the sensor, a tired motor). Either way the printer halts and flashes an error rather than risk printing over a half-cut receipt. Understanding that cycle is what lets you fix the cause instead of fighting the symptom.
Step-by-step: clear a jam without breaking the blade
Follow these steps in order. Stop as soon as the printer cuts a clean test receipt — you don’t need to complete every step every time.
- 1
Read the error first
Note the LED pattern before you do anything — a steady error light versus a flashing one tells you whether the printer sees a cover-open, a paper-out, or a cutter fault. Then switch the printer off. - 2
Power-cycle to auto-recover
Wait 10 seconds and switch it back on. Most Epson, Star and Bixolon models run a recovery routine on power-up that drives the blade back to home. If the error clears and a test cut is clean, you’re done. - 3
Return the blade manually
If the blade is still stuck, power off and open the cutter cover (on Epson TM-T88V this is a separate flap from the roll-paper cover). Turn the knob in the arrow direction until the movable blade is fully retracted.Caution: Turn only in the marked direction. Forcing the knob the wrong way can jam the gear against its end-stop. - 4
Open the roll cover and free the paper
With the blade home, open the roll-paper cover and lift the jammed paper out gently. Pick out any shreds — a single sliver left in the track will re-jam the next cut. - 5
Clean the blade track and sensor
Blow out paper dust with short bursts of compressed air, then wipe the blade track and the sensor slot with a lint-free swab lightly dampened with 70–90% isopropyl alcohol. Let it dry fully before powering on. - 6
Reload paper and run a test cut
Reseat the roll squarely, close both covers, power on and run the printer’s self-test or a test receipt. A clean, square cut means you’re back in service. A nicked, partial or angled cut means the blade or motor is worn — go to the replace section.
Root-cause checklist: stop it happening again
Clearing the jam is half the job; stopping the next one is the other half. Match your symptom to the most likely root cause below before you assume the cutter is dying.
| Likely cause | Fix | |
|---|---|---|
| Repeated jams every few cuts | Paper dust packing the blade track | Compressed air + IPA clean; schedule monthly |
| Cuts on the wrong line / mid-receipt | Stale print driver or firmware | Update the POS driver and printer firmware |
| Partial cut (paper still attached) | Worn movable blade or weak motor | Replace cutter unit if blade edge is rounded |
| Jam on a specific paper roll only | Paper too thick / too tightly wound | Use 60–80 µm spec paper; check roll tension |
| Loud grinding, no cut | Stripped drive gear or foreign object | Inspect for staples/debris; replace if gear is chewed |
| Error returns instantly after recovery | Dust on the home-position sensor | Clean the sensor slot with a dry swab |
For paper-spec problems specifically, our POS receipt paper buying guide covers thickness, width and quality grades in detail — using the wrong roll is a surprisingly common hidden cause of repeat jams.
Repair or replace? Cutter unit vs whole printer
If the blade re-homes and cleans up but still cuts poorly, the cutter is worn, not jammed. On almost every modern POS printer the cutter is a self-contained module that drops out and back in — you don’t replace the whole printer for a worn blade. Use this decision matrix:
| Replace the cutter unit | Replace the whole printer | |
|---|---|---|
| Print quality | Sharp and even | Faded / streaky (head also worn) |
| Blade condition | Nicked, rounded, won't re-home | Blade fine but chassis cracked |
| Model availability | Current model, parts in stock | Obsolete, no parts supply |
| Typical downtime | 10–15 min drop-in | Re-cable + re-driver the lane |
| Relative cost | Low (a module) | High (a full unit) |
Replacing a cutter module is genuinely a counter-side job: power off, release the cutter cover, unclip the old module, seat the new one until it clicks, close up and run a test cut. If the print itself is also fading, the thermal head is the real culprit — see our thermal printhead replacement guide and consider replacing both wear parts in one service window.
Finding the right cutter part for your model
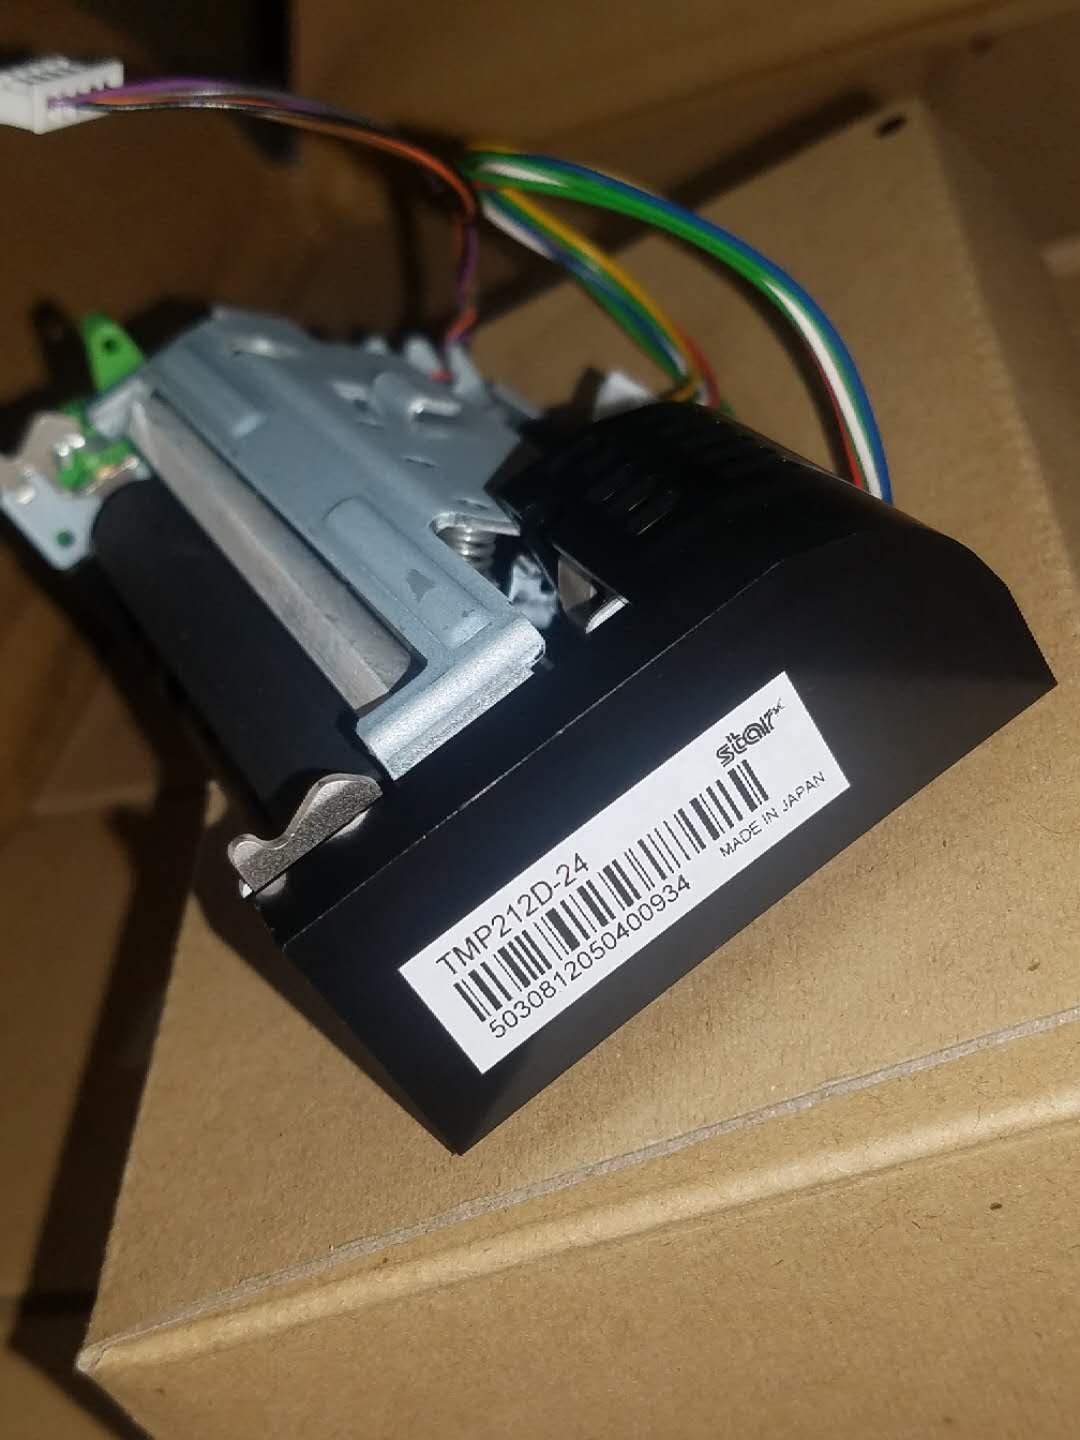
Cutter modules are model-specific — a TM-T88V cutter won’t fit a Star TSP100 — so match the part to your exact printer before ordering. The families below cover the large majority of POS lanes we service and all have a healthy aftermarket parts supply:
| Printer family | Cutter part notes | |
|---|---|---|
| Epson TM-T88III / IV / V | Drop-in auto-cutter assembly; fixed blade also sold separately | — |
| Epson TM-T88VI / VII | Auto-recovery cutter; module swap if blade is worn | — |
| Epson TM-T20 / T82 / T220 | Entry-level auto-cutter module, widely stocked | — |
| Star TSP100 / TSP143 / TSP654 | Cutter unit + drive gear commonly replaced together | — |
| Bixolon SRP-350 / 380 | Modular cutter; check II vs III sub-revision | — |
| Epson TM-U220 (impact) | Manual tear-bar or auto-cutter variant — confirm which you have | — |
To match the right cutter, gear or fixed blade to your unit, browse our printer cutter & gear parts category, or send us the model number from the printer’s base label and we’ll cross-reference the correct part for you. Not sure which model you have? Our terminal & model identification guide shows where to find the label on common POS hardware.
Frequently Asked Questions
My receipt printer light is flashing and it won't cut — is the cutter broken?
Can I pull the jammed paper out by hand?
How do I reset the cutter on an Epson TM-T88V?
Why does my printer cut in the middle of a receipt or only partially cut?
How long does an auto-cutter last?
Is it worth replacing just the cutter, or should I buy a new printer?
Sources & further reading
- TM-T88V Technical Reference Guide (cutter recovery procedure) — Epson
- TM-T88VI User's Manual (auto-recovery and paper jam handling) — Epson
- Auto-Cutter Jam on Epson U220B — Toast Central
- Fix a Receipt Printer Cutting Paper in the Middle of a Line — Whizz-Tech
- Epson TM-T88 Cutter Fixed Blade (replacement part reference) — Hillside Electronics Corp
Related guides
Cash Drawer Wiring & Connection: RJ11/RJ12 Drawer-Kick, Printer-Driven vs USB, and the 12–24V Pulse
A POS cash drawer doesn't plug into the till — it's kicked open by a 12–24V pulse from the receipt printer down an RJ11/RJ12 cable. Get the interface, pins and voltage right and it just works. Here's the wiring, explained.
Read guide →Noisy or Failing POS Cooling Fan? Diagnose the Bearing, Clean It, and Match a Replacement
A grinding or whining POS fan is usually dust or a worn bearing — and ignored, it leads to overheating and shutdowns. Here's how to find the noisy fan, decide clean-or-replace, and match the right fan.
Read guide →Receipt Printing Faint, Dark, Partial or Streaked? Thermal Print-Quality Troubleshooting (Start With the Self-Test)
Faint, streaked or one-sided receipts almost always trace to a dirty head, the wrong paper, or a density setting — not a dead printer. One self-test print tells you whether the fix is software or hardware. Here's the full routine.
Read guide →Related categories
Featured parts in this guide

Need the parts mentioned in this guide?
Genuine OEM and quality-tested aftermarket parts for IBM, Toshiba, NCR, Diebold, Wincor and Hyosung systems — with worldwide shipping.