ปัญหาจอ POS: จอดำ ไฟส่องหลังหรี่ เส้น และจอกระพริบ (และการทดสอบด้วยไฟฉาย)
คู่มือซ่อมความเสียของจอ LCD POS — จอดำ vs ไฟส่องหลังหรี่ vs เส้น vs กระพริบ การทดสอบด้วยไฟฉายที่แยกไฟส่องหลังที่ตาย การเสียบสายสัญญาณและสายแพใหม่ และการจับคู่พาเนล อินเวอร์เตอร์ หรือบอร์ดไดรเวอร์ตัวเปลี่ยน
คัดกรองอย่างเร็ว
A POS screen that’s black, dim, or streaked with lines looks like a dead monitor, but the fault is usually one of three things: a cable, the backlight, or the panel. The symptom narrows it, and a 10-second flashlight test settles the most expensive question — backlight vs panel. Triage in this order:
| Do this | What it tells you | |
|---|---|---|
| 1. Check brightness & input source | Rules out a stuck-low setting or wrong source | — |
| 2. Reseat the video & power cables | A loose signal cable is a top cause of no image | — |
| 3. Flashlight test the dark screen | Faint image = dead backlight; nothing = panel/signal | — |
| 4. Reseat the panel's ribbon cable | Fixes many lines/partial-image faults | — |
| 5. Replace backlight / panel / driver | Once the symptom points to the failed part | — |
จอ POS ทำงานอย่างไร
A POS display has a few distinct parts, and each fails with its own signature. Knowing the chain tells you what a symptom rules in or out:
อ่านอาการ
Match the symptom to point at the cause before you open anything:
| Symptom | Most likely cause | |
|---|---|---|
| Black screen, faint image under torch | Backlight (or its inverter/LED driver) failed | — |
| Black screen, no image under torch | Signal cable, driver board, or dead panel | — |
| Dim / dark even at full brightness | Weak backlight; check power & brightness first | — |
| Vertical / horizontal lines | LCD ribbon/flex, driver (T-CON) board, or panel | — |
| Flicker | Loose video cable, backlight/inverter, or power | — |
| Image fine, touch dead | Touch layer — a different fault (see touchscreen guide) | — |
ทีละขั้น: แยกความเสีย
Work the sequence in order, powering down before you open the unit. Each step proves a part good so you replace only what failed.
- 1
Check settings and source
Confirm brightness isn’t at zero and the correct input/source is selected. A surprising number of “black screens” are a setting. - 2
Reseat / swap the cables
Reseat the video and power cables at both ends and inspect for damage. Swap the video cable if you can — a marginal cable causes black screens and flicker. - 3
Test on a known-good source
Feed the monitor from a different host/cable (or test the panel on another terminal). This separates a host/cable fault from a monitor fault. - 4
Do the flashlight test
Shine a torch at an angle on the dark screen. Faint image = dead backlight (replace the backlight/LED bar or inverter/driver). No image = continue to the panel.Caution: On older CCFL panels the inverter carries high voltage — power off and discharge before handling. - 5
Reseat the ribbon, then replace
For lines, reseat the panel’s ribbon/flex connector. If lines persist, the panel is cracked, or there’s still no image, replace the panel (or driver board) matched to your monitor.
การทดสอบด้วยไฟฉายสำหรับไฟส่องหลังที่ตาย
The flashlight test deserves its own section because it prevents the most common wrong purchase — buying a whole panel when only the backlight failed.
| Flashlight result | Conclusion | Fix | |
|---|---|---|---|
| Faint image visible | LCD + signal OK; backlight is dead | Backlight/LED bar or inverter/LED driver | — |
| No image at all | Image not generated | Signal cable, driver board, or panel | — |
| Image flickers / pulses | Backlight or inverter marginal | Inverter/driver, then backlight | — |
จับคู่ชิ้นส่วนตัวเปลี่ยน
When a part has genuinely failed, match the replacement on these specs for a clean swap:
| Part | Symptom / how to match | |
|---|---|---|
| LCD panel | Lines, cracks, no image under torch — match size, resolution, connector | — |
| Backlight / LED bar | Dim or faint-under-torch — match the panel's backlight type | — |
| Inverter / LED driver | Dim/flicker on a CCFL or LED panel — match the board | — |
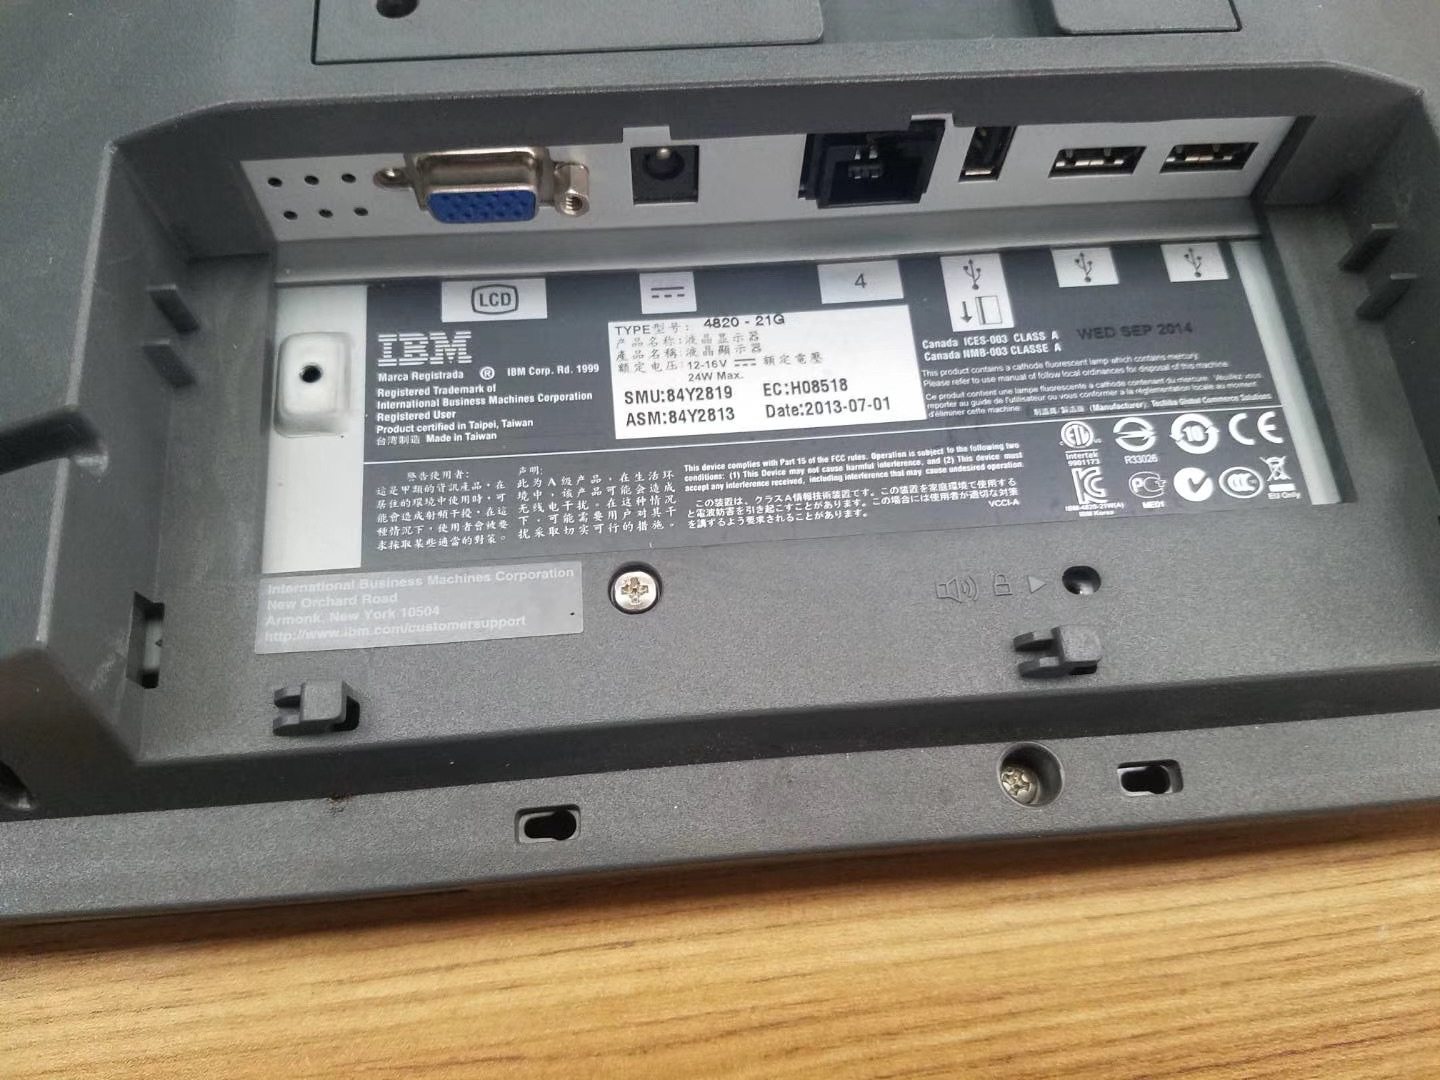
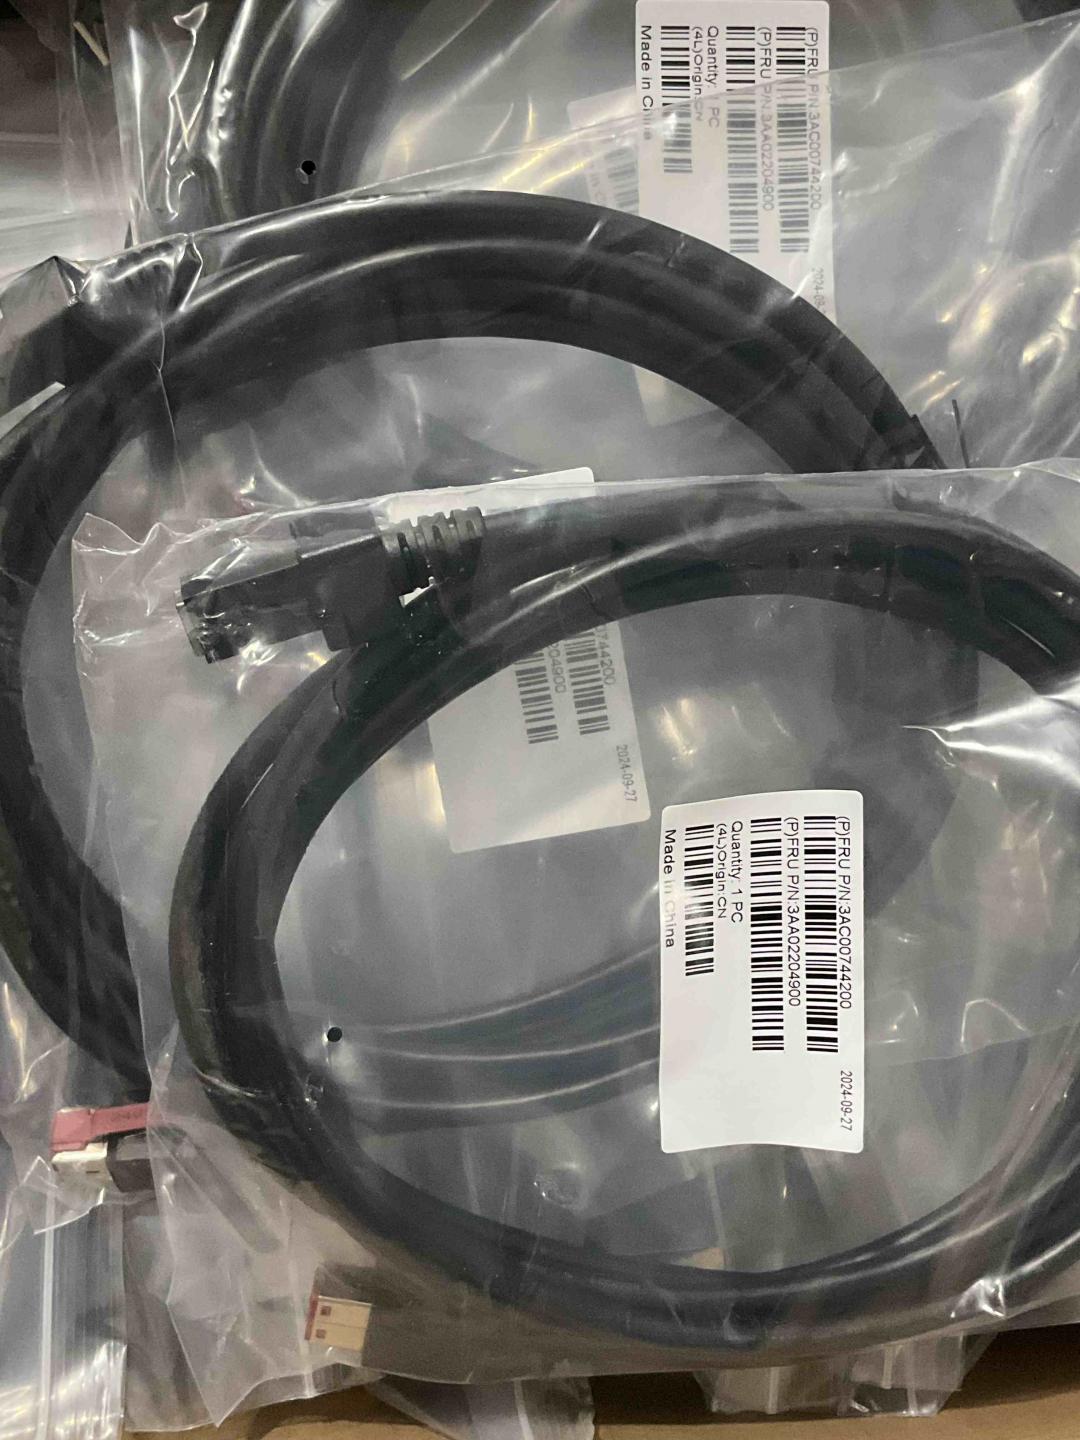
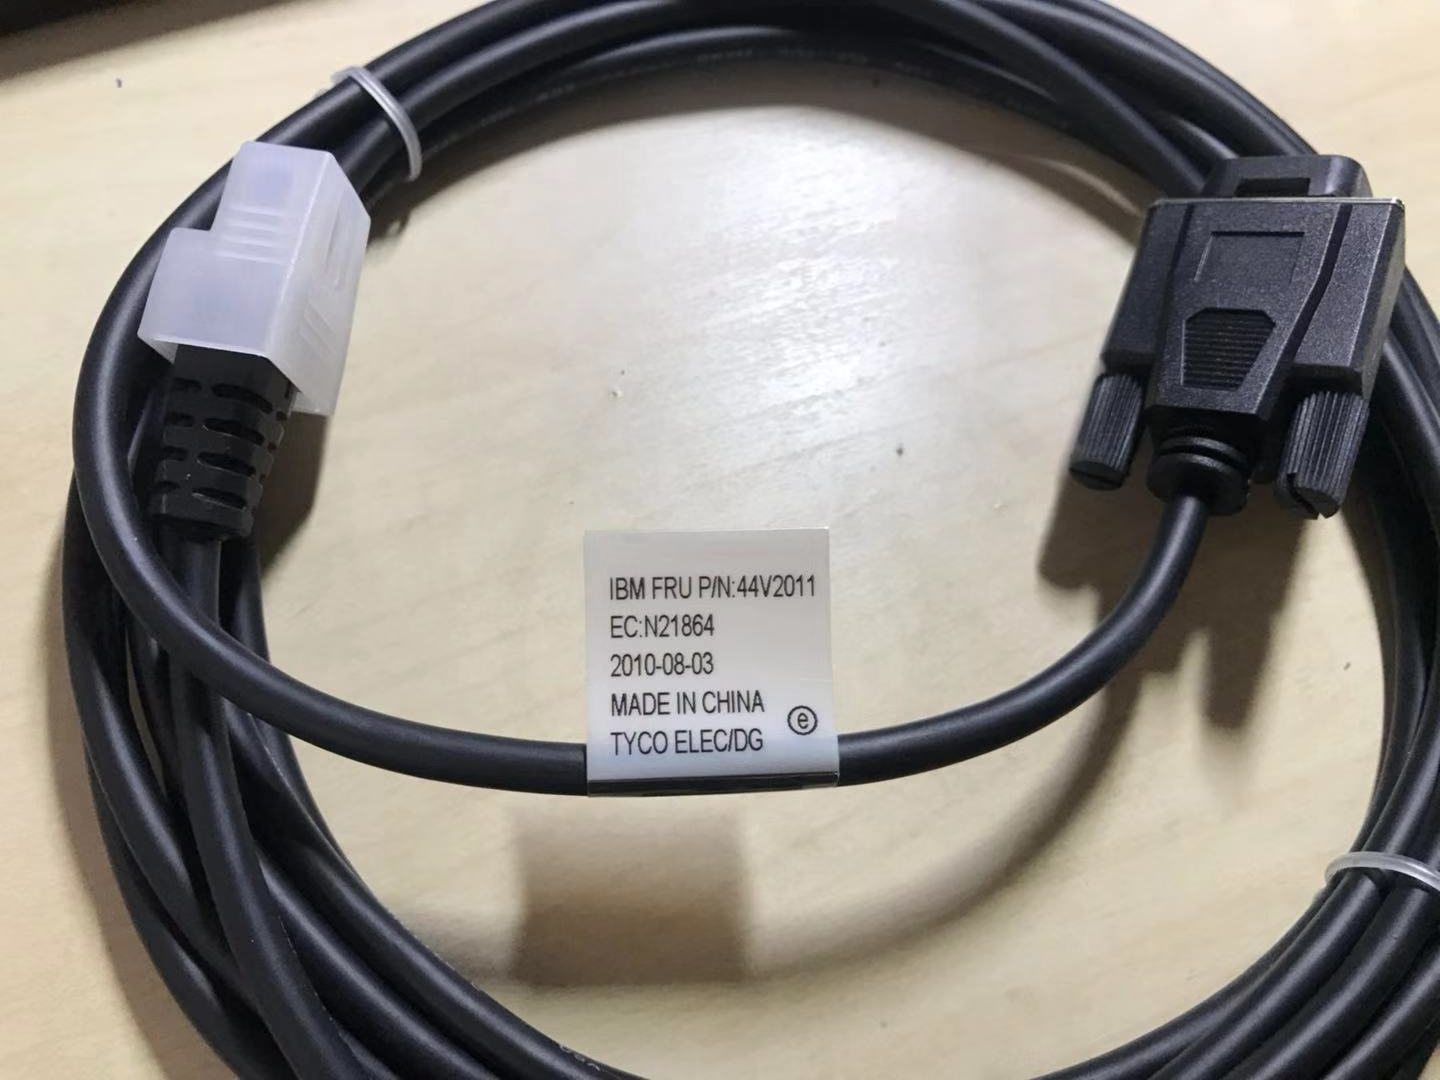
| Signal / LVDS cable | Black screen or flicker — match connector & length | — |
| Driver (T-CON) board | Lines or no image with a good panel — model-specific | — |
Browse monitors and panels in our displays & monitors category, related boards in terminal repair parts, and signal cables in cables & connectors. If the image is fine but touch is the problem, see our touchscreen troubleshooting guide; for a separate customer/pole display, the customer display guide. Send us your monitor model and we’ll match the right panel, backlight or cable.
คำถามที่พบบ่อย
จอ POS ดำแต่เครื่องเปิดอยู่ — เริ่มตรงไหน?
การทดสอบด้วยไฟฉายคืออะไรและทำไมสำคัญ?
ทำไมจอ POS มืดแม้ความสว่างสุด?
อะไรทำให้เกิดเส้นแนวตั้งหรือแนวนอนบนจอ POS?
จอกระพริบ — เป็นพาเนลหรืออย่างอื่น?
เป็นพาเนลจอหรือชั้นสัมผัสที่เสีย?
แหล่งข้อมูลและการอ่านเพิ่มเติม
- LCD Panel Troubleshooting: Flickering, Black Screen, Bright-Line Faults — DisplayModule
- LCD Troubleshooting: A Practical Guide for Technicians — ALLPCB
- POS Black Screen Troubleshooting Guide — SDLPOS
- No Display After Turning Monitor On — ASUS Support
- No Display or Black Screen on a Computer Monitor — Computer Hope
คู่มือที่เกี่ยวข้อง
การเดินสายและเชื่อมต่อลิ้นชักเก็บเงิน: drawer-kick RJ11/RJ12, ขับด้วยเครื่องพิมพ์ vs USB, และพัลส์ 12–24V
ลิ้นชักเก็บเงิน POS ไม่ได้เสียบเข้าเครื่องแคชเชียร์ — แต่ถูกเปิดด้วยพัลส์ 12–24V จากเครื่องพิมพ์ใบเสร็จผ่านสาย RJ11/RJ12 อินเทอร์เฟซ พิน และแรงดันถูก ก็ใช้ได้
อ่านคู่มือ →พัดลม POS เสียงดังหรือใกล้เสีย? วินิจฉัยตลับลูกปืน ทำความสะอาด และจับคู่ตัวเปลี่ยน
พัดลม POS ที่ครืดคราดหรือหวีดมักเป็นฝุ่นหรือตลับลูกปืนสึก — ปล่อยไว้นำไปสู่ความร้อนเกินและดับ นี่คือวิธีหาพัดลมที่ดัง ตัดสินใจทำความสะอาดหรือเปลี่ยน และเลือกตัวที่ถูก
อ่านคู่มือ →ใบเสร็จพิมพ์จาง เข้ม ไม่ครบ หรือมีเส้น? แก้ปัญหาคุณภาพการพิมพ์ความร้อน (เริ่มที่การพิมพ์ทดสอบตัวเอง)
ใบเสร็จที่จาง มีเส้น หรือพิมพ์ด้านเดียว เกือบทุกครั้งมาจากหัวสกปรก กระดาษผิด หรือการตั้งความเข้ม — ไม่ใช่เครื่องพิมพ์ตาย การพิมพ์ทดสอบตัวเองหนึ่งครั้งบอกว่าทางแก้อยู่ที่ซอฟต์แวร์หรือฮาร์ดแวร์
อ่านคู่มือ →หมวดหมู่ที่เกี่ยวข้อง
อะไหล่แนะนำ
%20Sparta%20Riser%20Card/120c399634d85265f7a7595a979407ee_c48b4b186f0a2eea2b86d0d5a86c219e_s-l1600.jpg)
ต้องการอะไหล่ที่กล่าวถึงในคู่มือนี้หรือไม่?
อะไหล่ OEM ของแท้และอะไหล่ทดแทนคุณภาพระดับโรงงานสำหรับระบบ IBM, Toshiba, NCR, Diebold, Wincor และ Hyosung — จัดส่งทั่วโลก