مشاكل شاشة POS: شاشة سوداء، إضاءة خلفية خافتة، خطوط، ووميض (واختبار الكشّاف)
دليل إصلاح لأعطال شاشة LCD في POS — شاشة سوداء مقابل إضاءة خافتة مقابل خطوط مقابل وميض، اختبار الكشّاف الذي يعزل إضاءة خلفية ميّتة، إعادة توصيل كابلي الإشارة والشريط المرن، واختيار لوحة أو عاكس أو لوحة تحكّم بديلة.
الفرز السريع
A POS screen that’s black, dim, or streaked with lines looks like a dead monitor, but the fault is usually one of three things: a cable, the backlight, or the panel. The symptom narrows it, and a 10-second flashlight test settles the most expensive question — backlight vs panel. Triage in this order:
| Do this | What it tells you | |
|---|---|---|
| 1. Check brightness & input source | Rules out a stuck-low setting or wrong source | — |
| 2. Reseat the video & power cables | A loose signal cable is a top cause of no image | — |
| 3. Flashlight test the dark screen | Faint image = dead backlight; nothing = panel/signal | — |
| 4. Reseat the panel's ribbon cable | Fixes many lines/partial-image faults | — |
| 5. Replace backlight / panel / driver | Once the symptom points to the failed part | — |
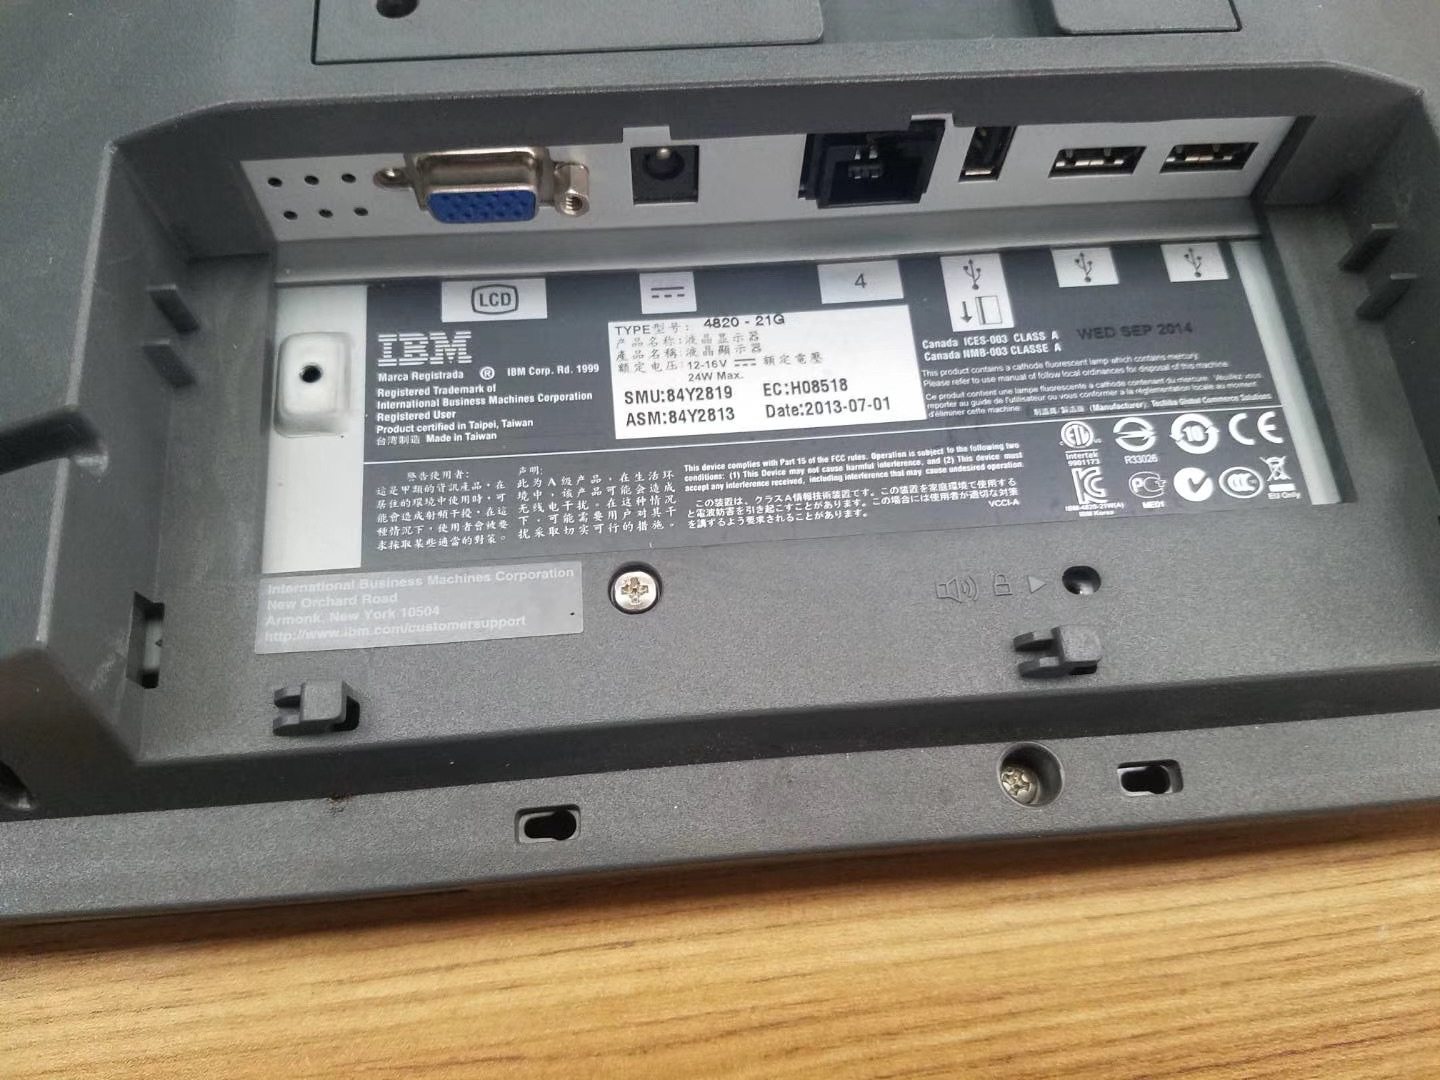
كيف تعمل شاشة POS
A POS display has a few distinct parts, and each fails with its own signature. Knowing the chain tells you what a symptom rules in or out:
قراءة العَرَض
Match the symptom to point at the cause before you open anything:
| Symptom | Most likely cause | |
|---|---|---|
| Black screen, faint image under torch | Backlight (or its inverter/LED driver) failed | — |
| Black screen, no image under torch | Signal cable, driver board, or dead panel | — |
| Dim / dark even at full brightness | Weak backlight; check power & brightness first | — |
| Vertical / horizontal lines | LCD ribbon/flex, driver (T-CON) board, or panel | — |
| Flicker | Loose video cable, backlight/inverter, or power | — |
| Image fine, touch dead | Touch layer — a different fault (see touchscreen guide) | — |
خطوة بخطوة: اعزل العطل
Work the sequence in order, powering down before you open the unit. Each step proves a part good so you replace only what failed.
- 1
Check settings and source
Confirm brightness isn’t at zero and the correct input/source is selected. A surprising number of “black screens” are a setting. - 2
Reseat / swap the cables
Reseat the video and power cables at both ends and inspect for damage. Swap the video cable if you can — a marginal cable causes black screens and flicker. - 3
Test on a known-good source
Feed the monitor from a different host/cable (or test the panel on another terminal). This separates a host/cable fault from a monitor fault. - 4
Do the flashlight test
Shine a torch at an angle on the dark screen. Faint image = dead backlight (replace the backlight/LED bar or inverter/driver). No image = continue to the panel.Caution: On older CCFL panels the inverter carries high voltage — power off and discharge before handling. - 5
Reseat the ribbon, then replace
For lines, reseat the panel’s ribbon/flex connector. If lines persist, the panel is cracked, or there’s still no image, replace the panel (or driver board) matched to your monitor.
اختبار الكشّاف لإضاءة خلفية ميّتة
The flashlight test deserves its own section because it prevents the most common wrong purchase — buying a whole panel when only the backlight failed.
| Flashlight result | Conclusion | Fix | |
|---|---|---|---|
| Faint image visible | LCD + signal OK; backlight is dead | Backlight/LED bar or inverter/LED driver | — |
| No image at all | Image not generated | Signal cable, driver board, or panel | — |
| Image flickers / pulses | Backlight or inverter marginal | Inverter/driver, then backlight | — |
مطابقة قطعة بديلة
When a part has genuinely failed, match the replacement on these specs for a clean swap:
| Part | Symptom / how to match | |
|---|---|---|
| LCD panel | Lines, cracks, no image under torch — match size, resolution, connector | — |
| Backlight / LED bar | Dim or faint-under-torch — match the panel's backlight type | — |
| Inverter / LED driver | Dim/flicker on a CCFL or LED panel — match the board | — |
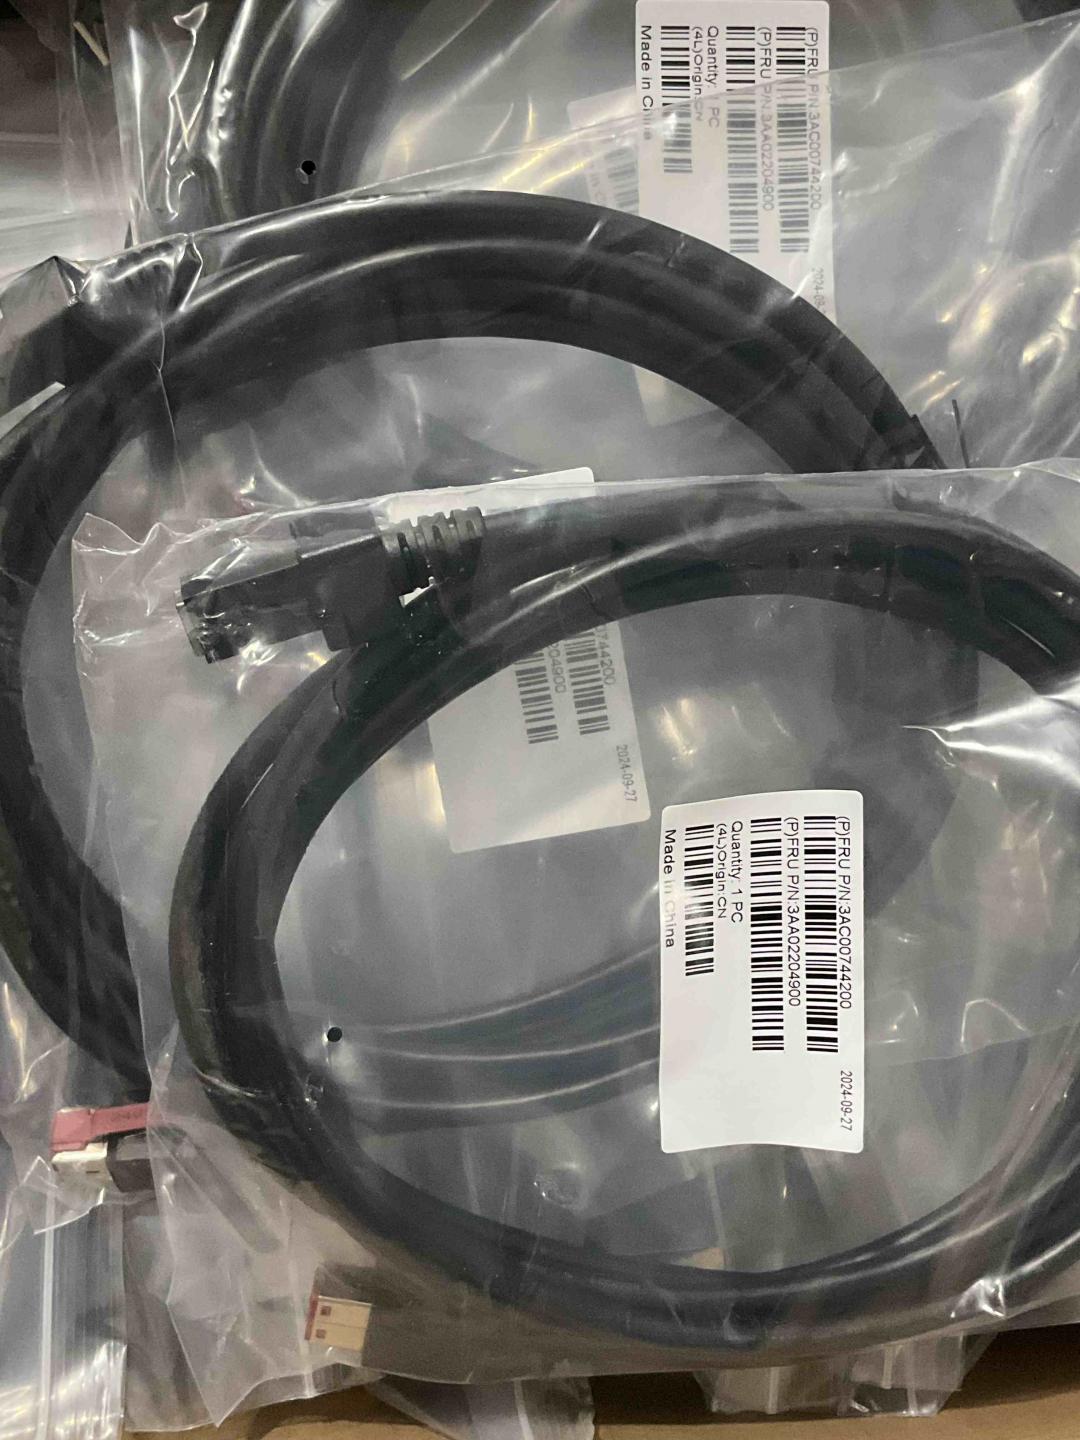
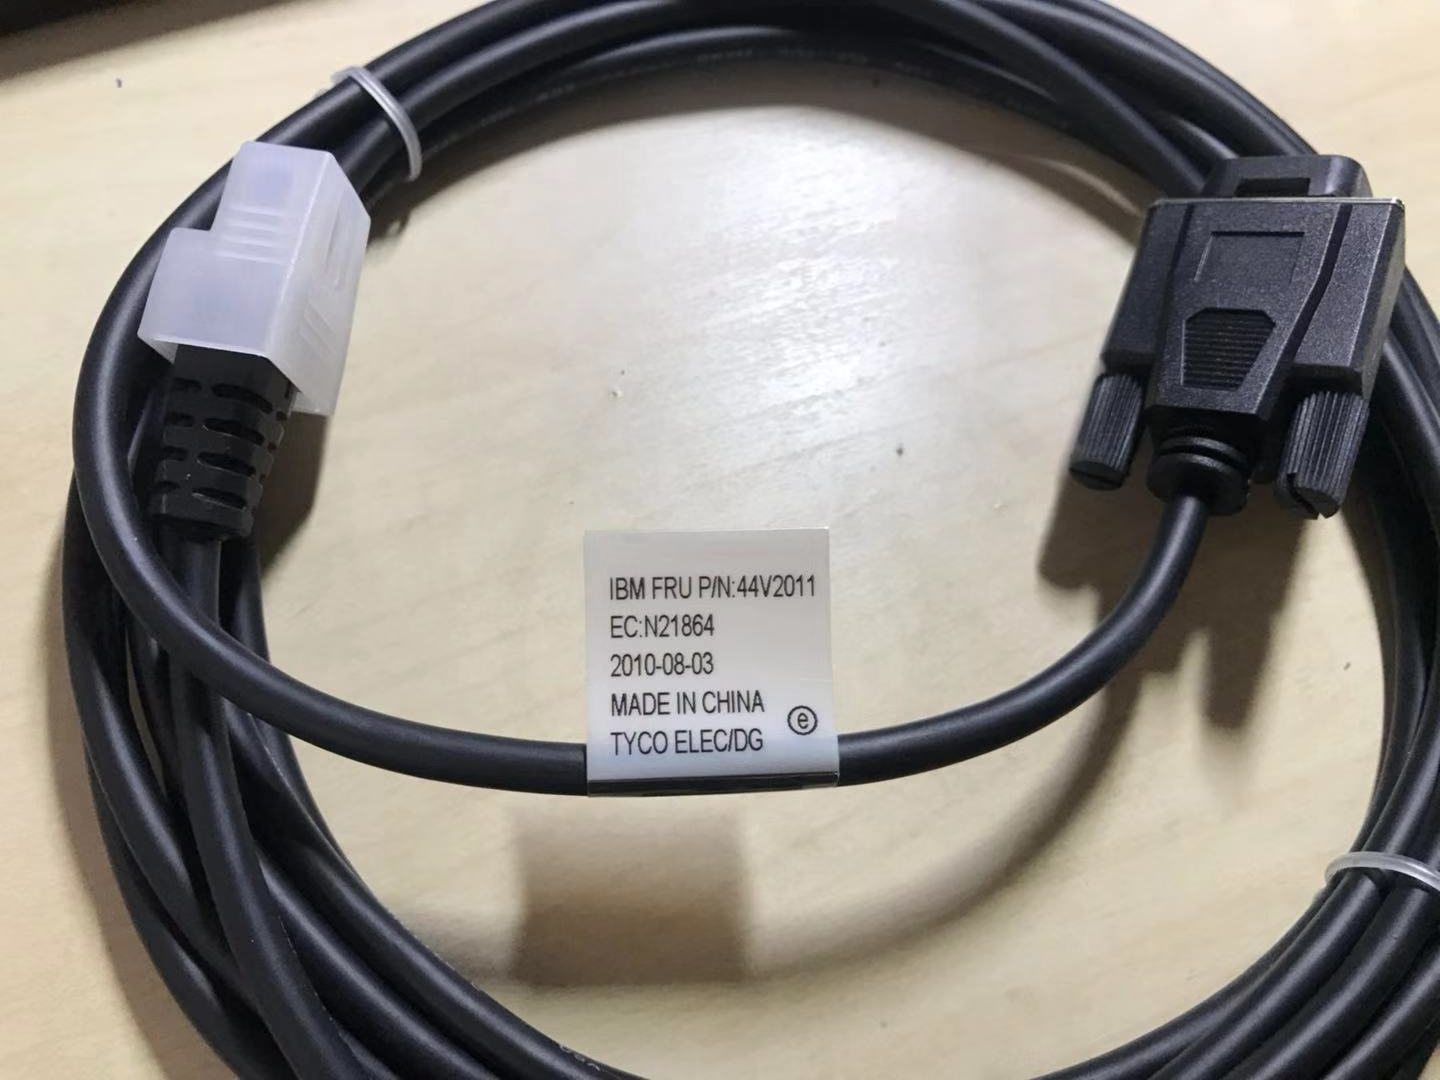
| Signal / LVDS cable | Black screen or flicker — match connector & length | — |
| Driver (T-CON) board | Lines or no image with a good panel — model-specific | — |
Browse monitors and panels in our displays & monitors category, related boards in terminal repair parts, and signal cables in cables & connectors. If the image is fine but touch is the problem, see our touchscreen troubleshooting guide; for a separate customer/pole display, the customer display guide. Send us your monitor model and we’ll match the right panel, backlight or cable.
الأسئلة الشائعة
شاشة POS سوداء لكن الجهاز يعمل — من أين أبدأ؟
ما اختبار الكشّاف ولماذا يهمّ؟
لماذا شاشة POS مظلمة حتى عند أقصى سطوع؟
ما الذي يسبّب خطوطًا رأسية أو أفقية على شاشة POS؟
شاشتي تومض — أهي اللوحة أم شيء آخر؟
أهي لوحة العرض أم طبقة اللمس المعطّلة؟
المصادر والمراجع الإضافية
- LCD Panel Troubleshooting: Flickering, Black Screen, Bright-Line Faults — DisplayModule
- LCD Troubleshooting: A Practical Guide for Technicians — ALLPCB
- POS Black Screen Troubleshooting Guide — SDLPOS
- No Display After Turning Monitor On — ASUS Support
- No Display or Black Screen on a Computer Monitor — Computer Hope
أدلة ذات صلة
توصيل وأسلاك درج النقود: drawer-kick بـ RJ11/RJ12، مُشغَّل بالطابعة مقابل USB، ونبضة 12–24V
درج نقود POS لا يُوصَل بالكاشير — بل تفتحه نبضة 12–24V من طابعة الإيصالات عبر كابل RJ11/RJ12. الواجهة والدبابيس والجهد الصحيحة، ويعمل.
اقرأ الدليل →مروحة تبريد POS صاخبة أو معطوبة؟ شخّص المحمل، نظّفه، وطابق بديلًا
مروحة POS التي تطحن أو تصفر غالبًا غبار أو محمل بالٍ — وإهمالها يؤدّي إلى ارتفاع الحرارة والإغلاق. إليك كيف تجد المروحة الصاخبة، وتقرّر تنظيف-أم-استبدال، وتختار الصحيحة.
اقرأ الدليل →الإيصال يطبع باهتًا أو داكنًا أو ناقصًا أو مخطّطًا؟ استكشاف جودة الطباعة الحرارية (ابدأ بالاختبار الذاتي)
الإيصالات الباهتة أو المخطّطة أو من جانب واحد تعود غالبًا إلى رأس متّسخ أو ورق خاطئ أو إعداد كثافة — لا إلى طابعة معطّلة. اختبار ذاتي واحد يقول إن كان الحل برمجيًا أم عتاديًا.
اقرأ الدليل →فئات ذات صلة
قطع غيار مميزة
%20Sparta%20Riser%20Card/120c399634d85265f7a7595a979407ee_c48b4b186f0a2eea2b86d0d5a86c219e_s-l1600.jpg)
هل تحتاج إلى القطع المذكورة في هذا الدليل؟
قطع OEM أصلية وبدائل مختبرة في المصنع لأنظمة IBM و Toshiba و NCR و Diebold و Wincor و Hyosung — مع شحن عالمي.