POS-Monitor-Probleme: Schwarzes Bild, dunkle Hintergrundbeleuchtung, Linien und Flackern (und der Taschenlampentest)
Ein Reparaturleitfaden für POS-LCD-Monitorfehler — schwarzes Bild vs. dunkle Beleuchtung vs. Linien vs. Flackern, der Taschenlampentest zur Eingrenzung einer toten Beleuchtung, Signal- und Flachbandkabel neu stecken, und das richtige Ersatzpanel, Inverter oder die Driver-Platine treffen.
Die schnelle Erstdiagnose
A POS screen that’s black, dim, or streaked with lines looks like a dead monitor, but the fault is usually one of three things: a cable, the backlight, or the panel. The symptom narrows it, and a 10-second flashlight test settles the most expensive question — backlight vs panel. Triage in this order:
| Do this | What it tells you | |
|---|---|---|
| 1. Check brightness & input source | Rules out a stuck-low setting or wrong source | — |
| 2. Reseat the video & power cables | A loose signal cable is a top cause of no image | — |
| 3. Flashlight test the dark screen | Faint image = dead backlight; nothing = panel/signal | — |
| 4. Reseat the panel's ribbon cable | Fixes many lines/partial-image faults | — |
| 5. Replace backlight / panel / driver | Once the symptom points to the failed part | — |
Wie ein POS-Display funktioniert
A POS display has a few distinct parts, and each fails with its own signature. Knowing the chain tells you what a symptom rules in or out:
Das Symptom lesen
Match the symptom to point at the cause before you open anything:
| Symptom | Most likely cause | |
|---|---|---|
| Black screen, faint image under torch | Backlight (or its inverter/LED driver) failed | — |
| Black screen, no image under torch | Signal cable, driver board, or dead panel | — |
| Dim / dark even at full brightness | Weak backlight; check power & brightness first | — |
| Vertical / horizontal lines | LCD ribbon/flex, driver (T-CON) board, or panel | — |
| Flicker | Loose video cable, backlight/inverter, or power | — |
| Image fine, touch dead | Touch layer — a different fault (see touchscreen guide) | — |
Schritt für Schritt: den Fehler eingrenzen
Work the sequence in order, powering down before you open the unit. Each step proves a part good so you replace only what failed.
- 1
Check settings and source
Confirm brightness isn’t at zero and the correct input/source is selected. A surprising number of “black screens” are a setting. - 2
Reseat / swap the cables
Reseat the video and power cables at both ends and inspect for damage. Swap the video cable if you can — a marginal cable causes black screens and flicker. - 3
Test on a known-good source
Feed the monitor from a different host/cable (or test the panel on another terminal). This separates a host/cable fault from a monitor fault. - 4
Do the flashlight test
Shine a torch at an angle on the dark screen. Faint image = dead backlight (replace the backlight/LED bar or inverter/driver). No image = continue to the panel.Caution: On older CCFL panels the inverter carries high voltage — power off and discharge before handling. - 5
Reseat the ribbon, then replace
For lines, reseat the panel’s ribbon/flex connector. If lines persist, the panel is cracked, or there’s still no image, replace the panel (or driver board) matched to your monitor.
Der Taschenlampentest für eine tote Beleuchtung
The flashlight test deserves its own section because it prevents the most common wrong purchase — buying a whole panel when only the backlight failed.
| Flashlight result | Conclusion | Fix | |
|---|---|---|---|
| Faint image visible | LCD + signal OK; backlight is dead | Backlight/LED bar or inverter/LED driver | — |
| No image at all | Image not generated | Signal cable, driver board, or panel | — |
| Image flickers / pulses | Backlight or inverter marginal | Inverter/driver, then backlight | — |
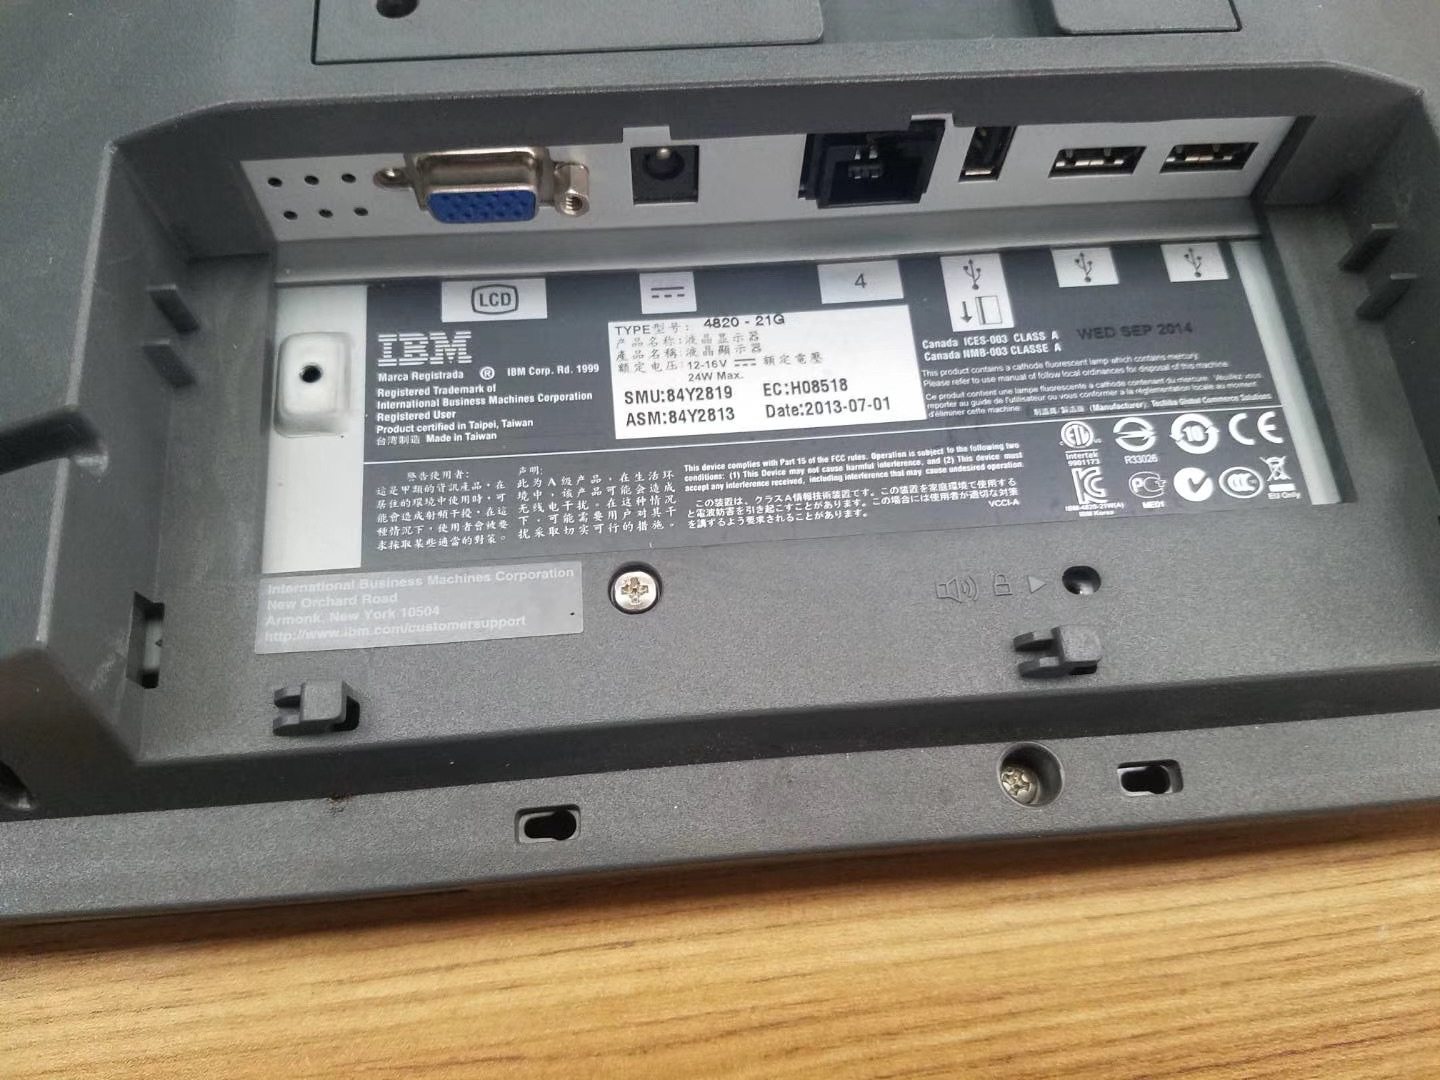
Ein Ersatzteil treffen
When a part has genuinely failed, match the replacement on these specs for a clean swap:
| Part | Symptom / how to match | |
|---|---|---|
| LCD panel | Lines, cracks, no image under torch — match size, resolution, connector | — |
| Backlight / LED bar | Dim or faint-under-torch — match the panel's backlight type | — |
| Inverter / LED driver | Dim/flicker on a CCFL or LED panel — match the board | — |
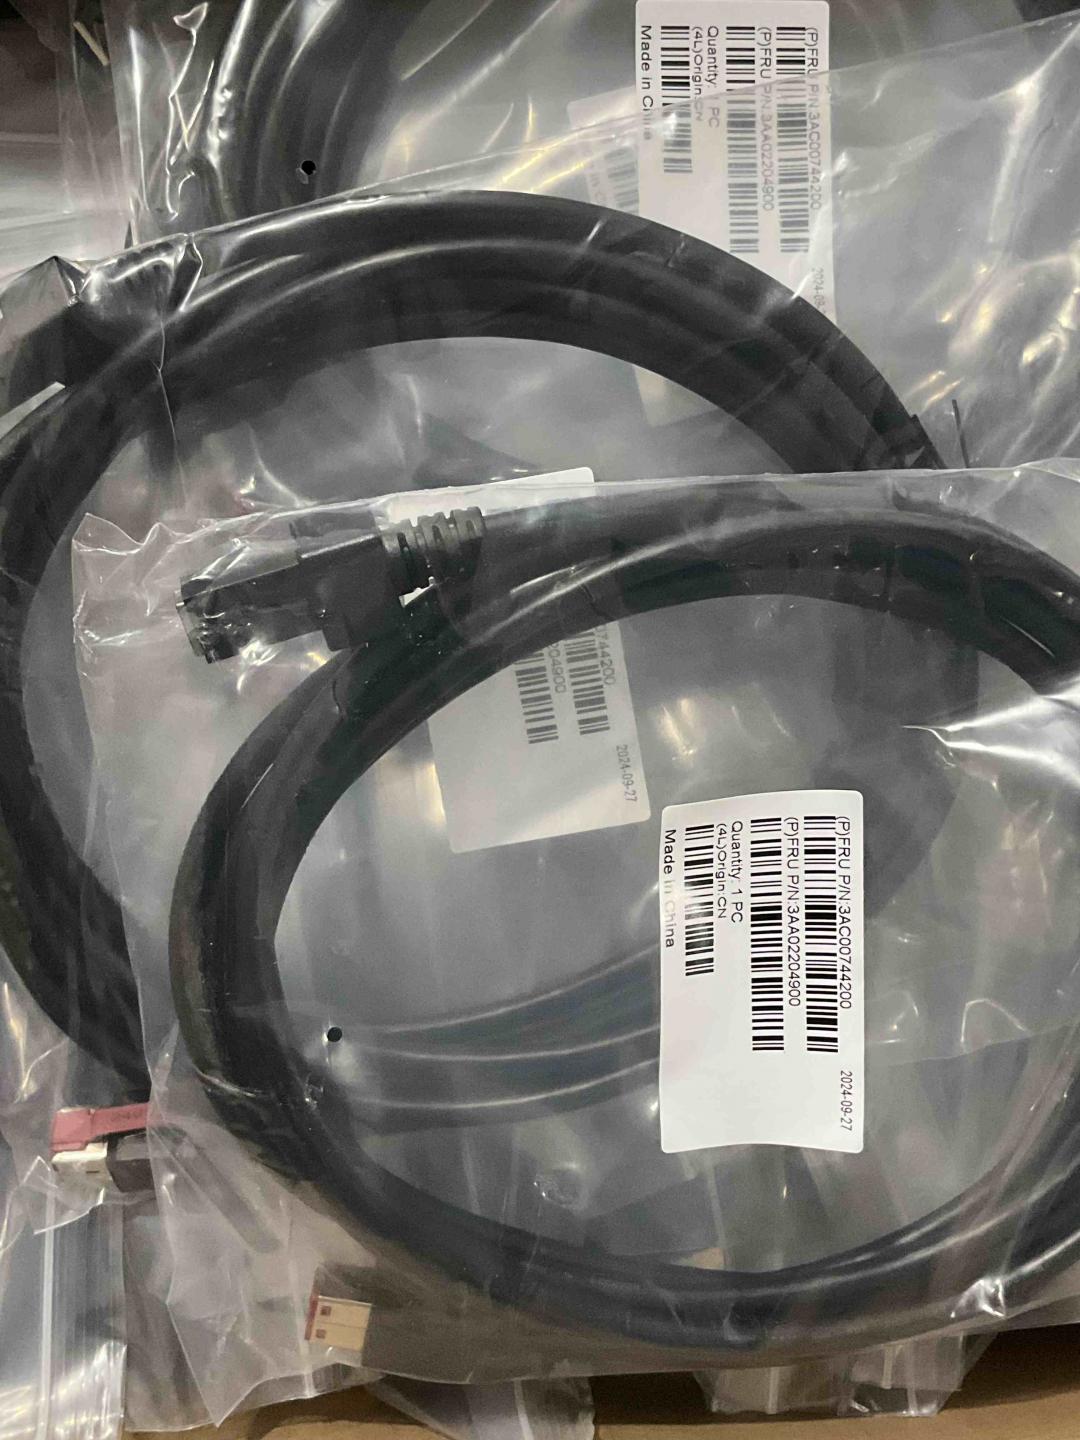
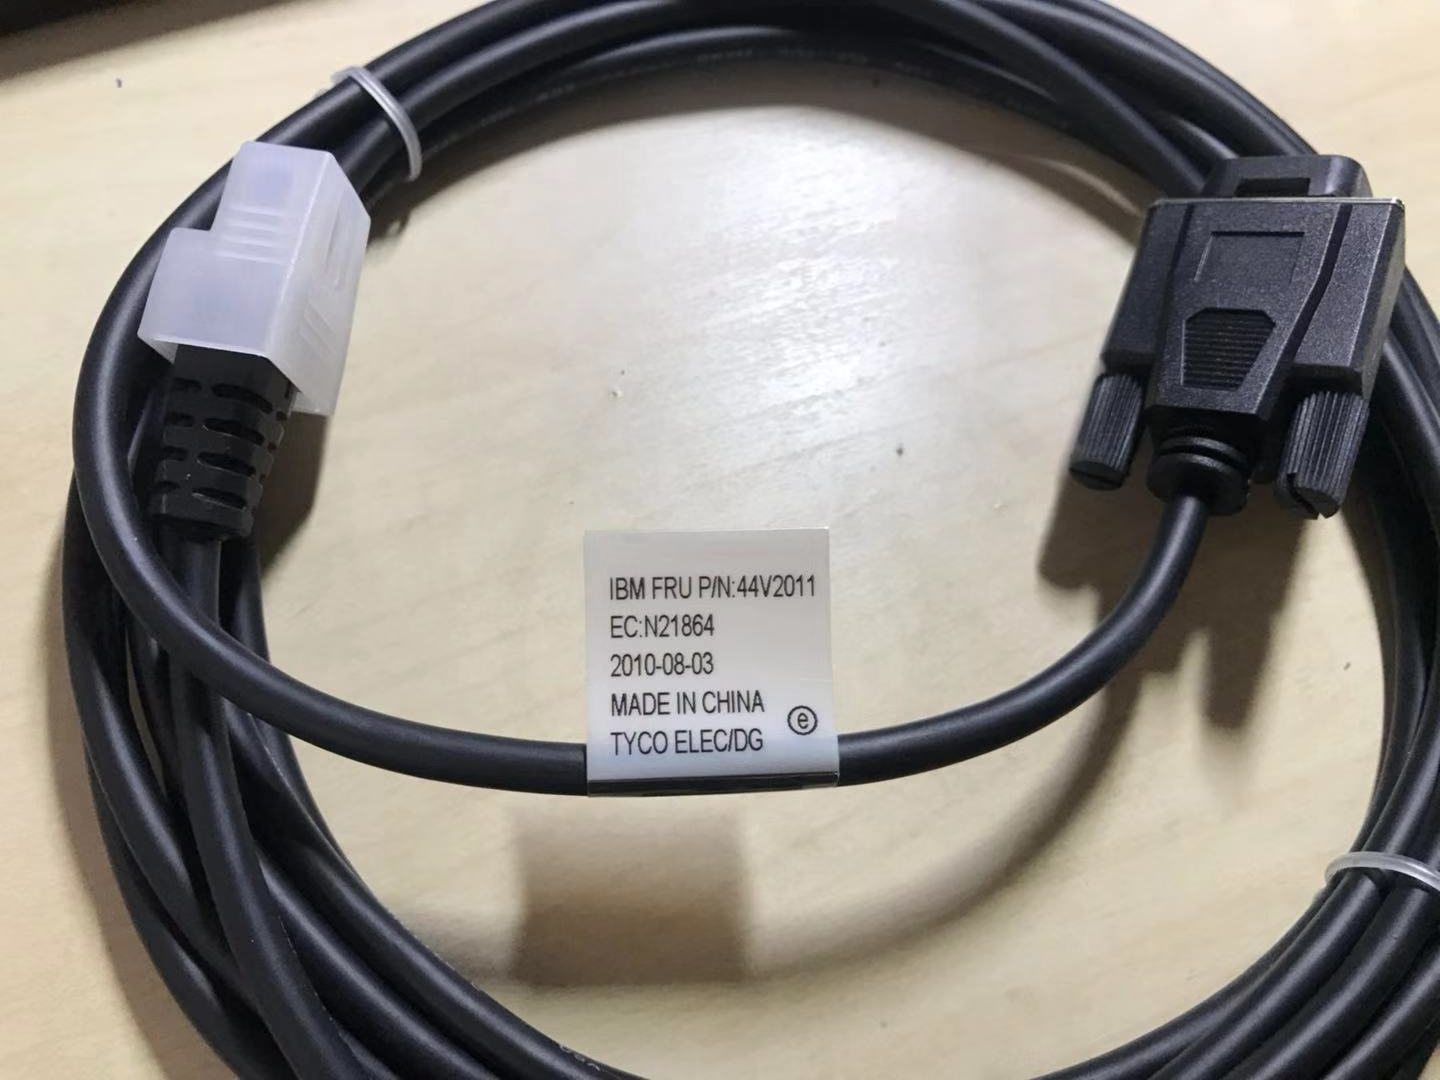
| Signal / LVDS cable | Black screen or flicker — match connector & length | — |
| Driver (T-CON) board | Lines or no image with a good panel — model-specific | — |
Browse monitors and panels in our displays & monitors category, related boards in terminal repair parts, and signal cables in cables & connectors. If the image is fine but touch is the problem, see our touchscreen troubleshooting guide; for a separate customer/pole display, the customer display guide. Send us your monitor model and we’ll match the right panel, backlight or cable.
Häufig gestellte Fragen
Mein POS-Bildschirm ist schwarz, aber das Terminal läuft — wo fange ich an?
Was ist der Taschenlampentest und warum ist er wichtig?
Warum ist mein POS-Display selbst bei voller Helligkeit dunkel?
Was verursacht vertikale oder horizontale Linien auf einem POS-Bildschirm?
Mein Bildschirm flackert — ist das das Panel oder etwas anderes?
Ist es das Display-Panel oder die Touch-Schicht?
Quellen & weiterführende Literatur
- LCD Panel Troubleshooting: Flickering, Black Screen, Bright-Line Faults — DisplayModule
- LCD Troubleshooting: A Practical Guide for Technicians — ALLPCB
- POS Black Screen Troubleshooting Guide — SDLPOS
- No Display After Turning Monitor On — ASUS Support
- No Display or Black Screen on a Computer Monitor — Computer Hope
Verwandte Anleitungen
Kassenschublade verkabeln & anschließen: RJ11/RJ12 Drawer-Kick, druckergesteuert vs USB, und der 12–24V-Impuls
Eine POS-Kassenschublade steckt nicht in der Kasse — sie wird von einem 12–24V-Impuls des Belegdruckers über ein RJ11/RJ12-Kabel aufgestoßen. Schnittstelle, Pins und Spannung richtig, dann funktioniert es.
Anleitung lesen →Lauter oder ausfallender POS-Lüfter? Lager diagnostizieren, reinigen und einen Ersatz treffen
Ein schleifender oder pfeifender POS-Lüfter ist meist Staub oder ein verschlissenes Lager — ignoriert führt es zu Überhitzung und Abschaltungen. So finden Sie den lauten Lüfter, entscheiden reinigen-oder-tauschen und treffen den richtigen.
Anleitung lesen →Beleg druckt blass, dunkel, unvollständig oder streifig? Thermo-Druckqualität beheben (Beginnen Sie mit dem Selbsttest)
Blasse, streifige oder einseitige Belege gehen fast immer auf einen schmutzigen Kopf, falsches Papier oder eine Dichteeinstellung zurück — nicht auf einen toten Drucker. Ein Selbsttest-Druck zeigt, ob die Lösung Software oder Hardware ist.
Anleitung lesen →Verwandte Kategorien
Empfohlene Ersatzteile
%20Sparta%20Riser%20Card/120c399634d85265f7a7595a979407ee_c48b4b186f0a2eea2b86d0d5a86c219e_s-l1600.jpg)
Benötigen Sie die in dieser Anleitung erwähnten Teile?
Originale OEM- und werksgeprüfte Aftermarket-Teile für IBM, Toshiba, NCR, Diebold, Wincor und Hyosung Systeme — mit weltweitem Versand.