Problèmes de moniteur POS : écran noir, rétroéclairage faible, lignes et scintillement (et le test de la lampe torche)
Un guide de réparation des pannes de moniteur LCD POS — écran noir vs rétroéclairage faible vs lignes vs scintillement, le test de la lampe torche qui isole un rétroéclairage mort, le rebranchement des câbles signal et nappe, et le choix d'une dalle, d'un onduleur ou d'une carte pilote de remplacement.
Le tri rapide
A POS screen that’s black, dim, or streaked with lines looks like a dead monitor, but the fault is usually one of three things: a cable, the backlight, or the panel. The symptom narrows it, and a 10-second flashlight test settles the most expensive question — backlight vs panel. Triage in this order:
| Do this | What it tells you | |
|---|---|---|
| 1. Check brightness & input source | Rules out a stuck-low setting or wrong source | — |
| 2. Reseat the video & power cables | A loose signal cable is a top cause of no image | — |
| 3. Flashlight test the dark screen | Faint image = dead backlight; nothing = panel/signal | — |
| 4. Reseat the panel's ribbon cable | Fixes many lines/partial-image faults | — |
| 5. Replace backlight / panel / driver | Once the symptom points to the failed part | — |
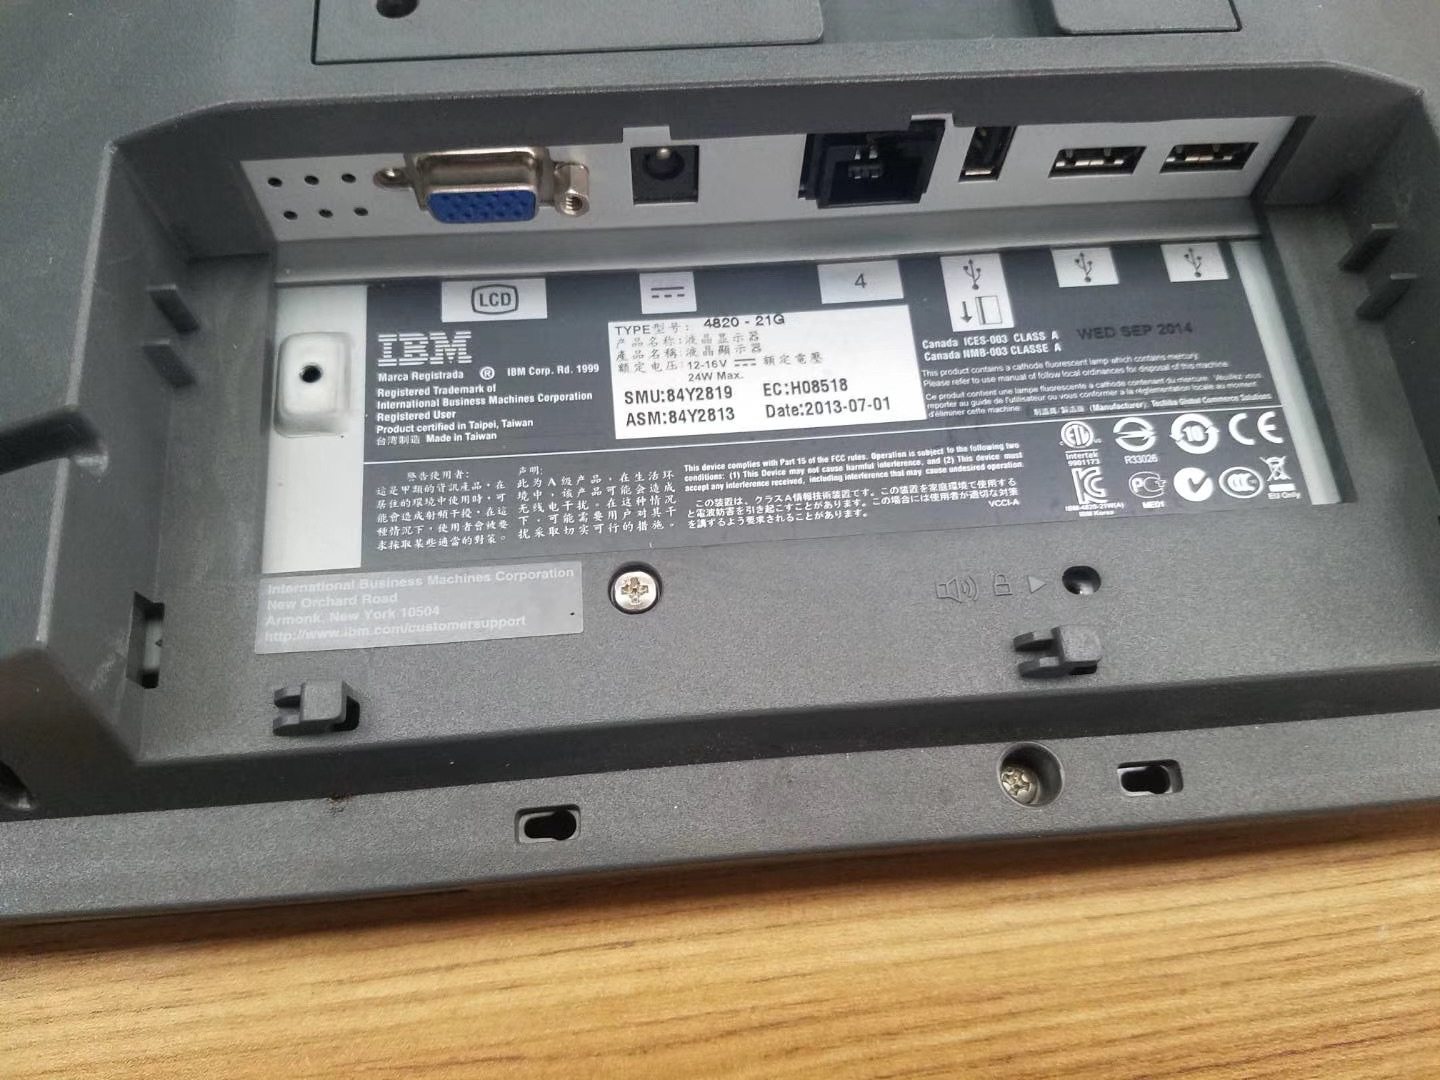
Comment fonctionne un écran POS
A POS display has a few distinct parts, and each fails with its own signature. Knowing the chain tells you what a symptom rules in or out:
Lire le symptôme
Match the symptom to point at the cause before you open anything:
| Symptom | Most likely cause | |
|---|---|---|
| Black screen, faint image under torch | Backlight (or its inverter/LED driver) failed | — |
| Black screen, no image under torch | Signal cable, driver board, or dead panel | — |
| Dim / dark even at full brightness | Weak backlight; check power & brightness first | — |
| Vertical / horizontal lines | LCD ribbon/flex, driver (T-CON) board, or panel | — |
| Flicker | Loose video cable, backlight/inverter, or power | — |
| Image fine, touch dead | Touch layer — a different fault (see touchscreen guide) | — |
Pas à pas : isoler la panne
Work the sequence in order, powering down before you open the unit. Each step proves a part good so you replace only what failed.
- 1
Check settings and source
Confirm brightness isn’t at zero and the correct input/source is selected. A surprising number of “black screens” are a setting. - 2
Reseat / swap the cables
Reseat the video and power cables at both ends and inspect for damage. Swap the video cable if you can — a marginal cable causes black screens and flicker. - 3
Test on a known-good source
Feed the monitor from a different host/cable (or test the panel on another terminal). This separates a host/cable fault from a monitor fault. - 4
Do the flashlight test
Shine a torch at an angle on the dark screen. Faint image = dead backlight (replace the backlight/LED bar or inverter/driver). No image = continue to the panel.Caution: On older CCFL panels the inverter carries high voltage — power off and discharge before handling. - 5
Reseat the ribbon, then replace
For lines, reseat the panel’s ribbon/flex connector. If lines persist, the panel is cracked, or there’s still no image, replace the panel (or driver board) matched to your monitor.
Le test de la lampe torche pour un rétroéclairage mort
The flashlight test deserves its own section because it prevents the most common wrong purchase — buying a whole panel when only the backlight failed.
| Flashlight result | Conclusion | Fix | |
|---|---|---|---|
| Faint image visible | LCD + signal OK; backlight is dead | Backlight/LED bar or inverter/LED driver | — |
| No image at all | Image not generated | Signal cable, driver board, or panel | — |
| Image flickers / pulses | Backlight or inverter marginal | Inverter/driver, then backlight | — |
Choisir une pièce de remplacement
When a part has genuinely failed, match the replacement on these specs for a clean swap:
| Part | Symptom / how to match | |
|---|---|---|
| LCD panel | Lines, cracks, no image under torch — match size, resolution, connector | — |
| Backlight / LED bar | Dim or faint-under-torch — match the panel's backlight type | — |
| Inverter / LED driver | Dim/flicker on a CCFL or LED panel — match the board | — |
| Signal / LVDS cable | Black screen or flicker — match connector & length | — |
| Driver (T-CON) board | Lines or no image with a good panel — model-specific | — |
Browse monitors and panels in our displays & monitors category, related boards in terminal repair parts, and signal cables in cables & connectors. If the image is fine but touch is the problem, see our touchscreen troubleshooting guide; for a separate customer/pole display, the customer display guide. Send us your monitor model and we’ll match the right panel, backlight or cable.
Questions fréquentes
Mon écran POS est noir mais le terminal est allumé — par où commencer ?
Qu'est-ce que le test de la lampe torche et pourquoi est-il important ?
Pourquoi mon écran POS est-il sombre même à pleine luminosité ?
Qu'est-ce qui cause des lignes verticales ou horizontales sur un écran POS ?
Mon écran scintille — est-ce la dalle ou autre chose ?
Est-ce la dalle ou la couche tactile qui est en panne ?
Sources & lectures complémentaires
- LCD Panel Troubleshooting: Flickering, Black Screen, Bright-Line Faults — DisplayModule
- LCD Troubleshooting: A Practical Guide for Technicians — ALLPCB
- POS Black Screen Troubleshooting Guide — SDLPOS
- No Display After Turning Monitor On — ASUS Support
- No Display or Black Screen on a Computer Monitor — Computer Hope
Guides associés
Câblage et connexion du tiroir-caisse : drawer-kick RJ11/RJ12, piloté par imprimante vs USB, et l'impulsion 12–24V
Un tiroir-caisse POS ne se branche pas sur la caisse — il est ouvert par une impulsion 12–24V de l'imprimante de tickets via un câble RJ11/RJ12. Interface, broches et tension correctes, et ça marche.
Lire le guide →Ventilateur POS bruyant ou défaillant ? Diagnostiquer le roulement, le nettoyer et choisir un remplacement
Un ventilateur POS qui grince ou siffle, c'est généralement de la poussière ou un roulement usé — ignoré, cela mène à la surchauffe et aux arrêts. Voici comment trouver le ventilateur bruyant, décider nettoyer-ou-remplacer, et choisir le bon.
Lire le guide →Ticket pâle, foncé, partiel ou strié ? Dépannage de la qualité d'impression thermique (commencez par l'autotest)
Des tickets pâles, striés ou unilatéraux remontent presque toujours à une tête sale, au mauvais papier ou à un réglage de densité — pas à une imprimante morte. Un autotest dit si la solution est logicielle ou matérielle.
Lire le guide →Catégories associées
Pièces en vedette
%20Sparta%20Riser%20Card/120c399634d85265f7a7595a979407ee_c48b4b186f0a2eea2b86d0d5a86c219e_s-l1600.jpg)
Besoin des pièces mentionnées dans ce guide ?
Pièces OEM d'origine et alternatives testées en usine pour les systèmes IBM, Toshiba, NCR, Diebold, Wincor et Hyosung — avec expédition mondiale.